The Moroni Doublet Mockup

It has been a long time since I had my favorite pink-pinked doublet in my wardrobe. I think the color is so elegant and I love how I feel when I wear it.
Am I sure I want a peascod belly since I've put on so much weight? No, but this piece has purposes other than just normal wear. It is a test piece to prove out so many things that we are learning from the Moritz clothing that I mentioned in the previous post.
Here is my process so far.
I drafted the pattern in the computer and printed it out and while I was doing that, I created patterns for the whole size range so that they will be ready for release when the video is complete. Then I laid out and cut the doublet like normal. Even with the length of the sleeve and my size, it used slightly less than 1.5 yds (1.4m) of 60" (1.5m) wide silk.
For this piece, I decided to throw caution to the wind and use a straight center back seam. I typically avoid this construction as it is very difficult to make the collar very tall without causing tremendous wrinkling around the back neck. But since I'm using this project for experimentation, I thought I would give it a go. I've done it successfully before, but not quite like this. In this instance, the front collar is a little deeper and back neck is a little narrower than my typical proportions. This MIGHT reduce or eliminate the tendency to wrinkle...only time will tell.

Because of the thin, summer-style construction, I am only using one layer of the lining fabric for the interlining of the skirting and the collar.


This very minimal amount of support is seen in most of the lightweight doublets that survive today. One extra layer in skirts, collar and often at the wrist end of the sleeve.
The skirt side-back seams are sewn, as are the skirt linings and then they're just basted together, turning ONLY the center back for a finished outer seam. All other edges will be encased in the lining, or bound with a binding.
I then stitched the front collars onto the front bodies. For doublets which have the back collar cut in one with the body, it is easier to stitch the front collar in place on the front neckline first, and after that, just stitch the shoulder/side neck seam in one pass.

The neckline of the body is clipped well to allow the seam allowance to lie flat.
In a move that is not my norm, I stitched the shoulder seams next, carefully turning and pressing the seam allowance for the back and making sure to use my iron to stretch the shoulder edge of the front for a good contour over the clavicle.
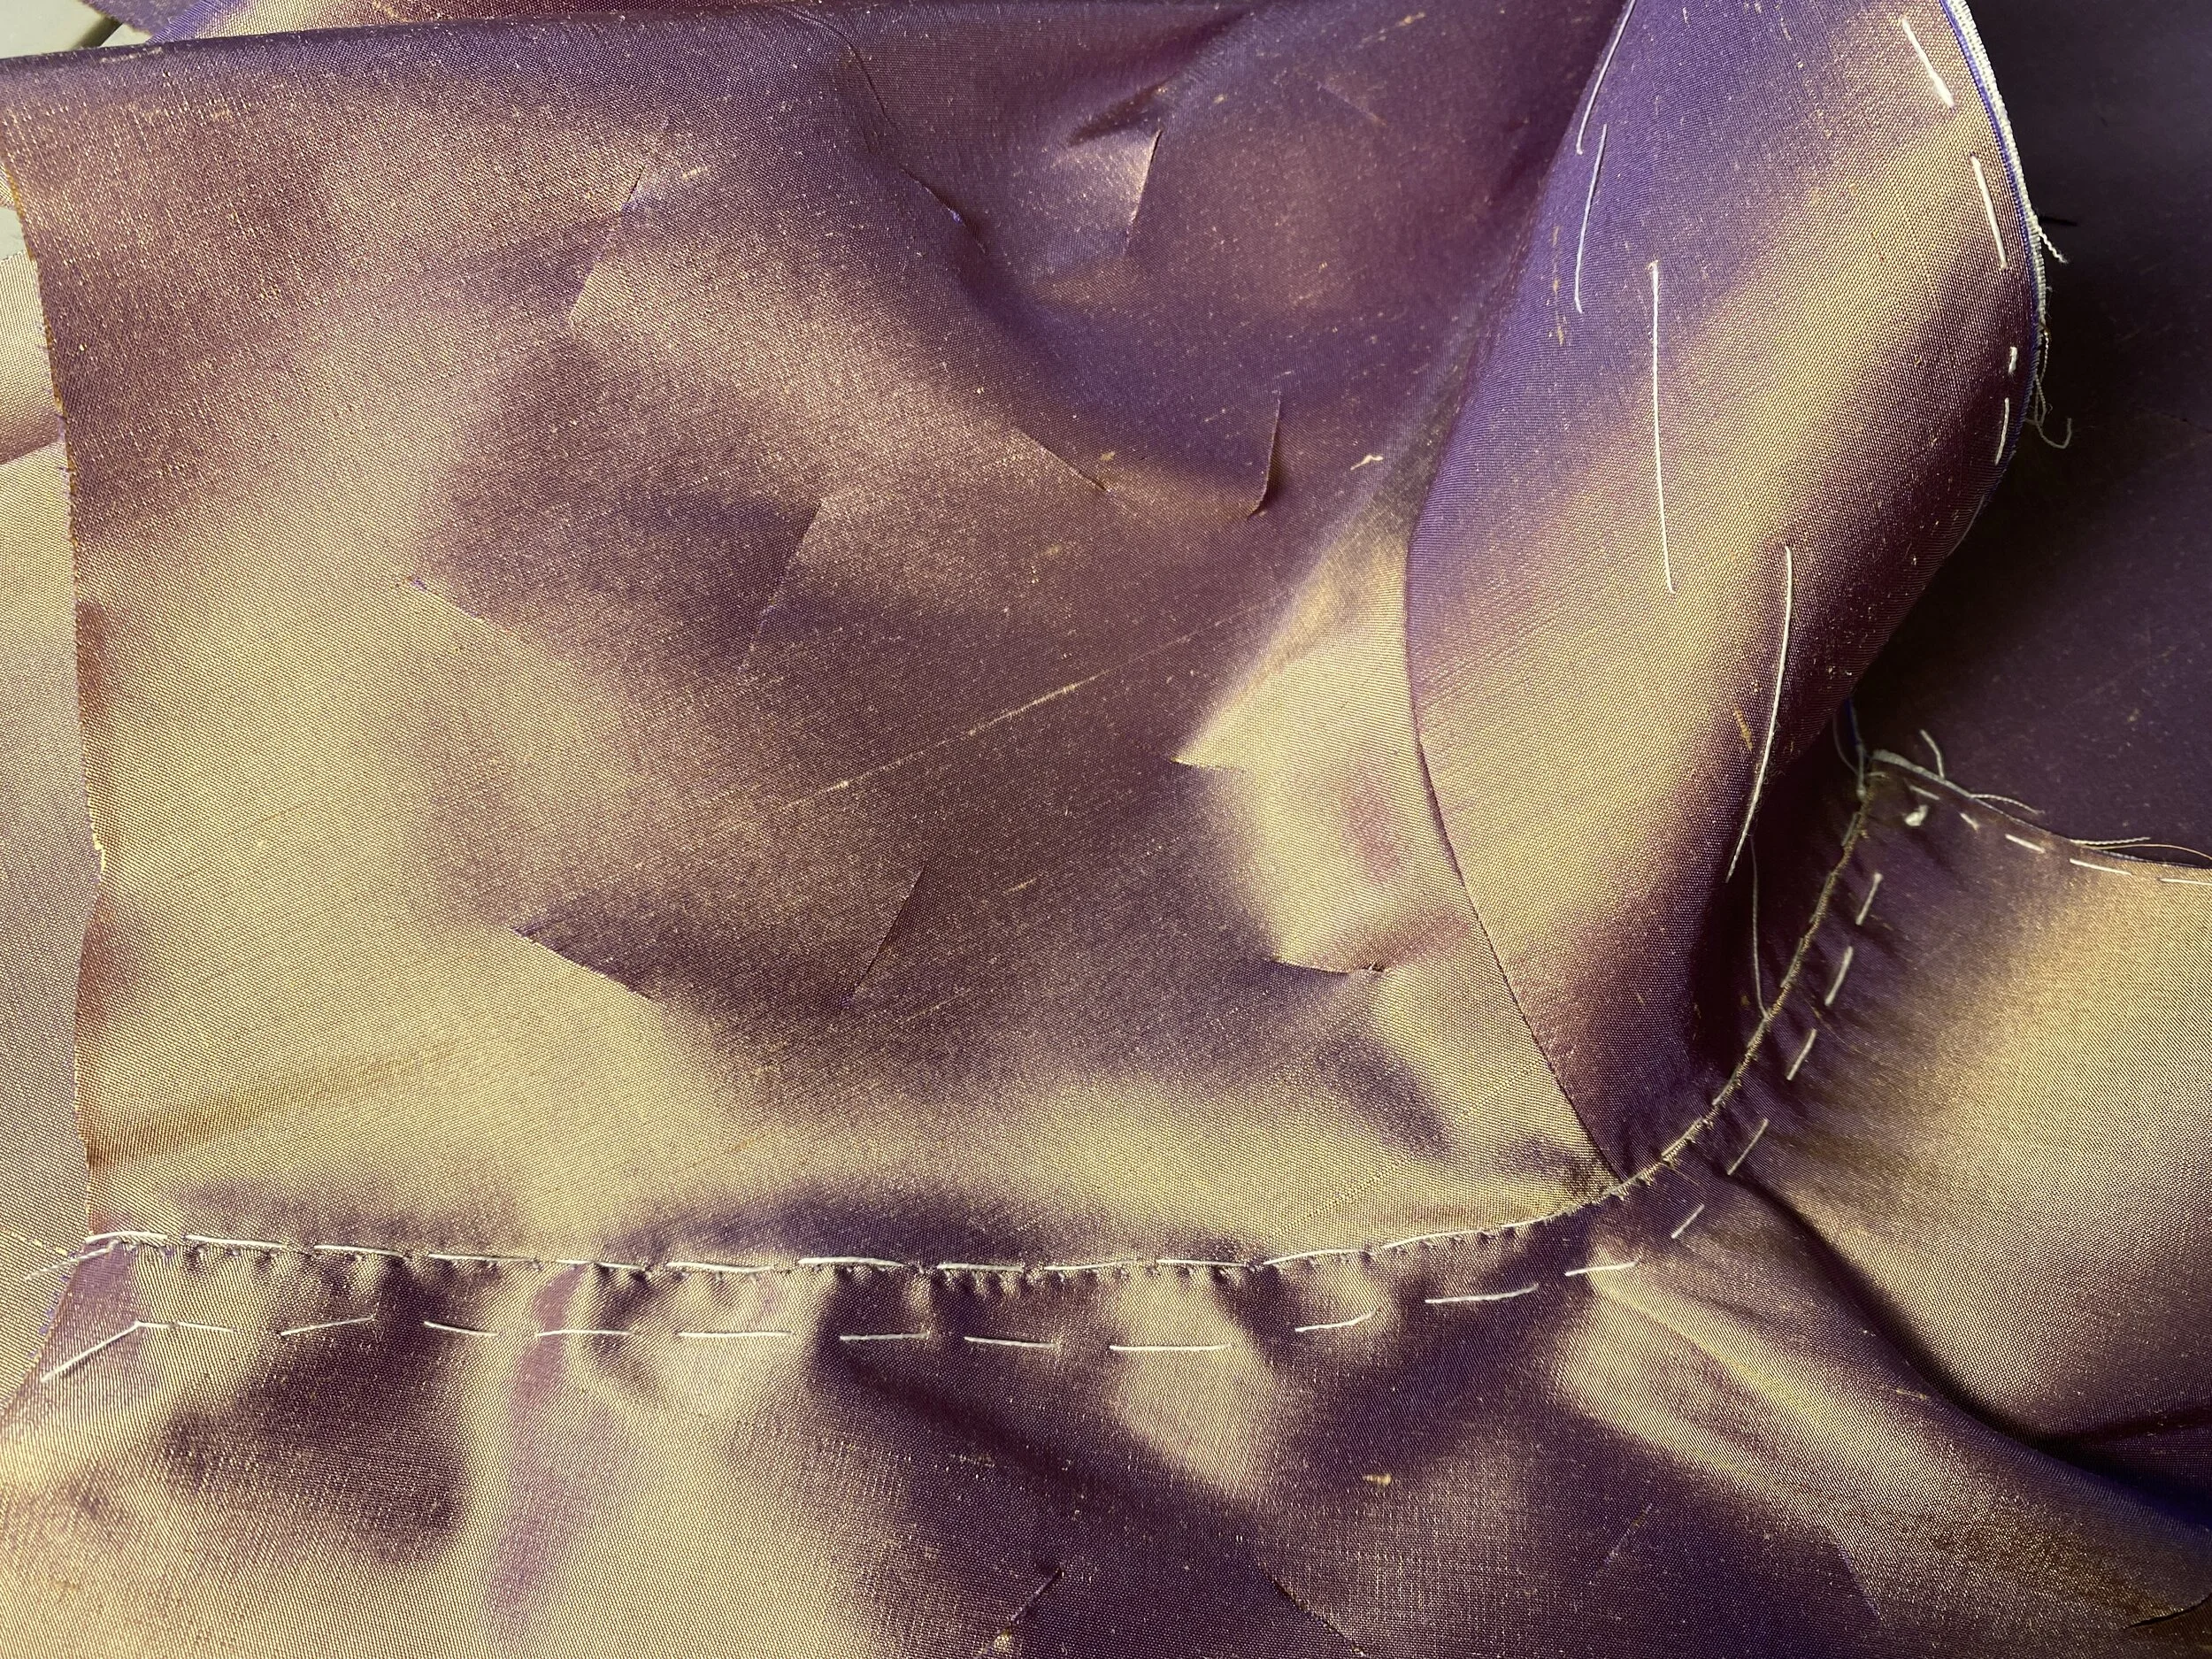
The first pass of the shoulder seam involves laying the back in place against a basting line that denotes the seam allowance width. Once basted in place, a simple felling stitch is used to secure it in place along the edge. You can see the ripples on the back shoulder from the easing. The back shoulder is cut a little longer than the front to force the stitcher to ease it in. This easing creates a hollow for the Trapezius muscle and allows the garment to flow better over the surface of the body in that area.

The second pass on the shoulder seam is a small pick stitch, worked about 3/16" (4mm) from the fell-stitched edge. This is both decorative and supportive. On a side note, I visited the optometrist last week and was told the RIGHT power of reading glasses to wear while working and suddenly my stitches more precise and even than they've ever been. Yay science!
When the shoulder/neck seams are complete, I turn my attention to the side back seams. Here, I am using a scrap piece of fabric, about 11/4" (3.2cm) wide. The scraps I'm using were cut off the bottom of the doublet skirts, which I made too wide. They're curved, so I used my iron to forcibly straighten them and then fold them in half. Once straightened, you'd never know how curved they were in the beginning. These strips are basted in place on the fronts, carefully basting at the seam allowance width. The seam allowance is then turned and the little flange of the inserted strip is left to extend out from the seam.

You can see in the photo above, the little flange on the side back seam. In this image, it only shows the felled pass of the seam. After the photo was taken, I picked stitched along the seam exactly the same way as I did the shoulder.
Once the body was assembled, I attached the skirts to the waist. I cannot believe that all of this work is only about 6 hours total. And even then, I'm stitching at a leisurely pace of about 20 to 30 stitches per minute.
My next steps are:
• Make up the sleeves
• Stitch up the lining
• Install the lining and trim away excess seam allowance on the bound edges
• Add silk facing to the buttonhole side
•Stitch the buttonholes
• Add the peascod belly-piece...JUST the belly piece in this instance, the peascod is achieved simply by adding a small padded bit at center front. It is similar in shape to those hardened belly pieces that were all the rage in 1620s Europe, except it is stuffed and shaped.

The above photo is swiped from the website of the research project that is documenting this amazing cache of clothing. https://www.moritzausbuxtehude.de/neue-seite-22
• All that remains once the belly piece is stitched in is to make and attach the buttons.
At this point in the process, I still have not tried on this mockup. If it were interlined and tailored, I might have tried it on at least once, but with a single layer of silk, trying on wouldn't yield the right information and the abrasion to the edges would make the silk shred and I don't have time for all that trimming. Just handling the garment while making it is already causing too much shredding of the edges of the silk. It is best not to do anything which makes that problem worse.
I am really looking forward to finishing up this mockup and trying it on. I'm pretty confident in the shape and I did tape the pattern together and put it on, long before I cut out the fabric, so I'm relatively confident that it will fit. Will it be a GOOD fit?
We will find out soon enough.