
Venetians: 1590-1640
Process

Make your Pattern
You can start by making your pattern, or if you already have one, skip ahead to layout and cutting. The pattern diagram shown to left is for a pair of breeches that will serve from 1590 all the way through to the 1640s. Of course, decoration and styling may shift, so make sure you know the details that are right for you.
This pattern is made with a very low crotch depth which is great for wearing, but you’re planning on working in these breeches or using them for combat, you will want to raise the crotch level to H-tii or even shorter to H-t. This can be easily adjusted during the toile and fitting stage of the work. The depth of the crotch depends greatly on your styling as well. If you’re really going for a dramatic historical look, you might need to wear these with a hip roll which requires that the crotch be quite low to account for the extra take-up. If you’re using a softer, less dramatic line, you will need to shorten the crotch length. Whatever you choose, making a mock-up in an inexpensive fabric with a similar weight to the final layers will answer all the questions you need.
Be aware that the pattern, as shown contains the height of the waistband. Depending on the style you’re making, you may wish to remove the waistband height of around ii-dedo. In historical examples, linings are made to extend over the waistband seam all the way to the top. This reduces bulk and makes them much easier and more comfortable to wear.
To see a demonstration of drafting breeches, click here. The breeches in this video are a slightly different style of Venetians, but the principles of drafting are similar.

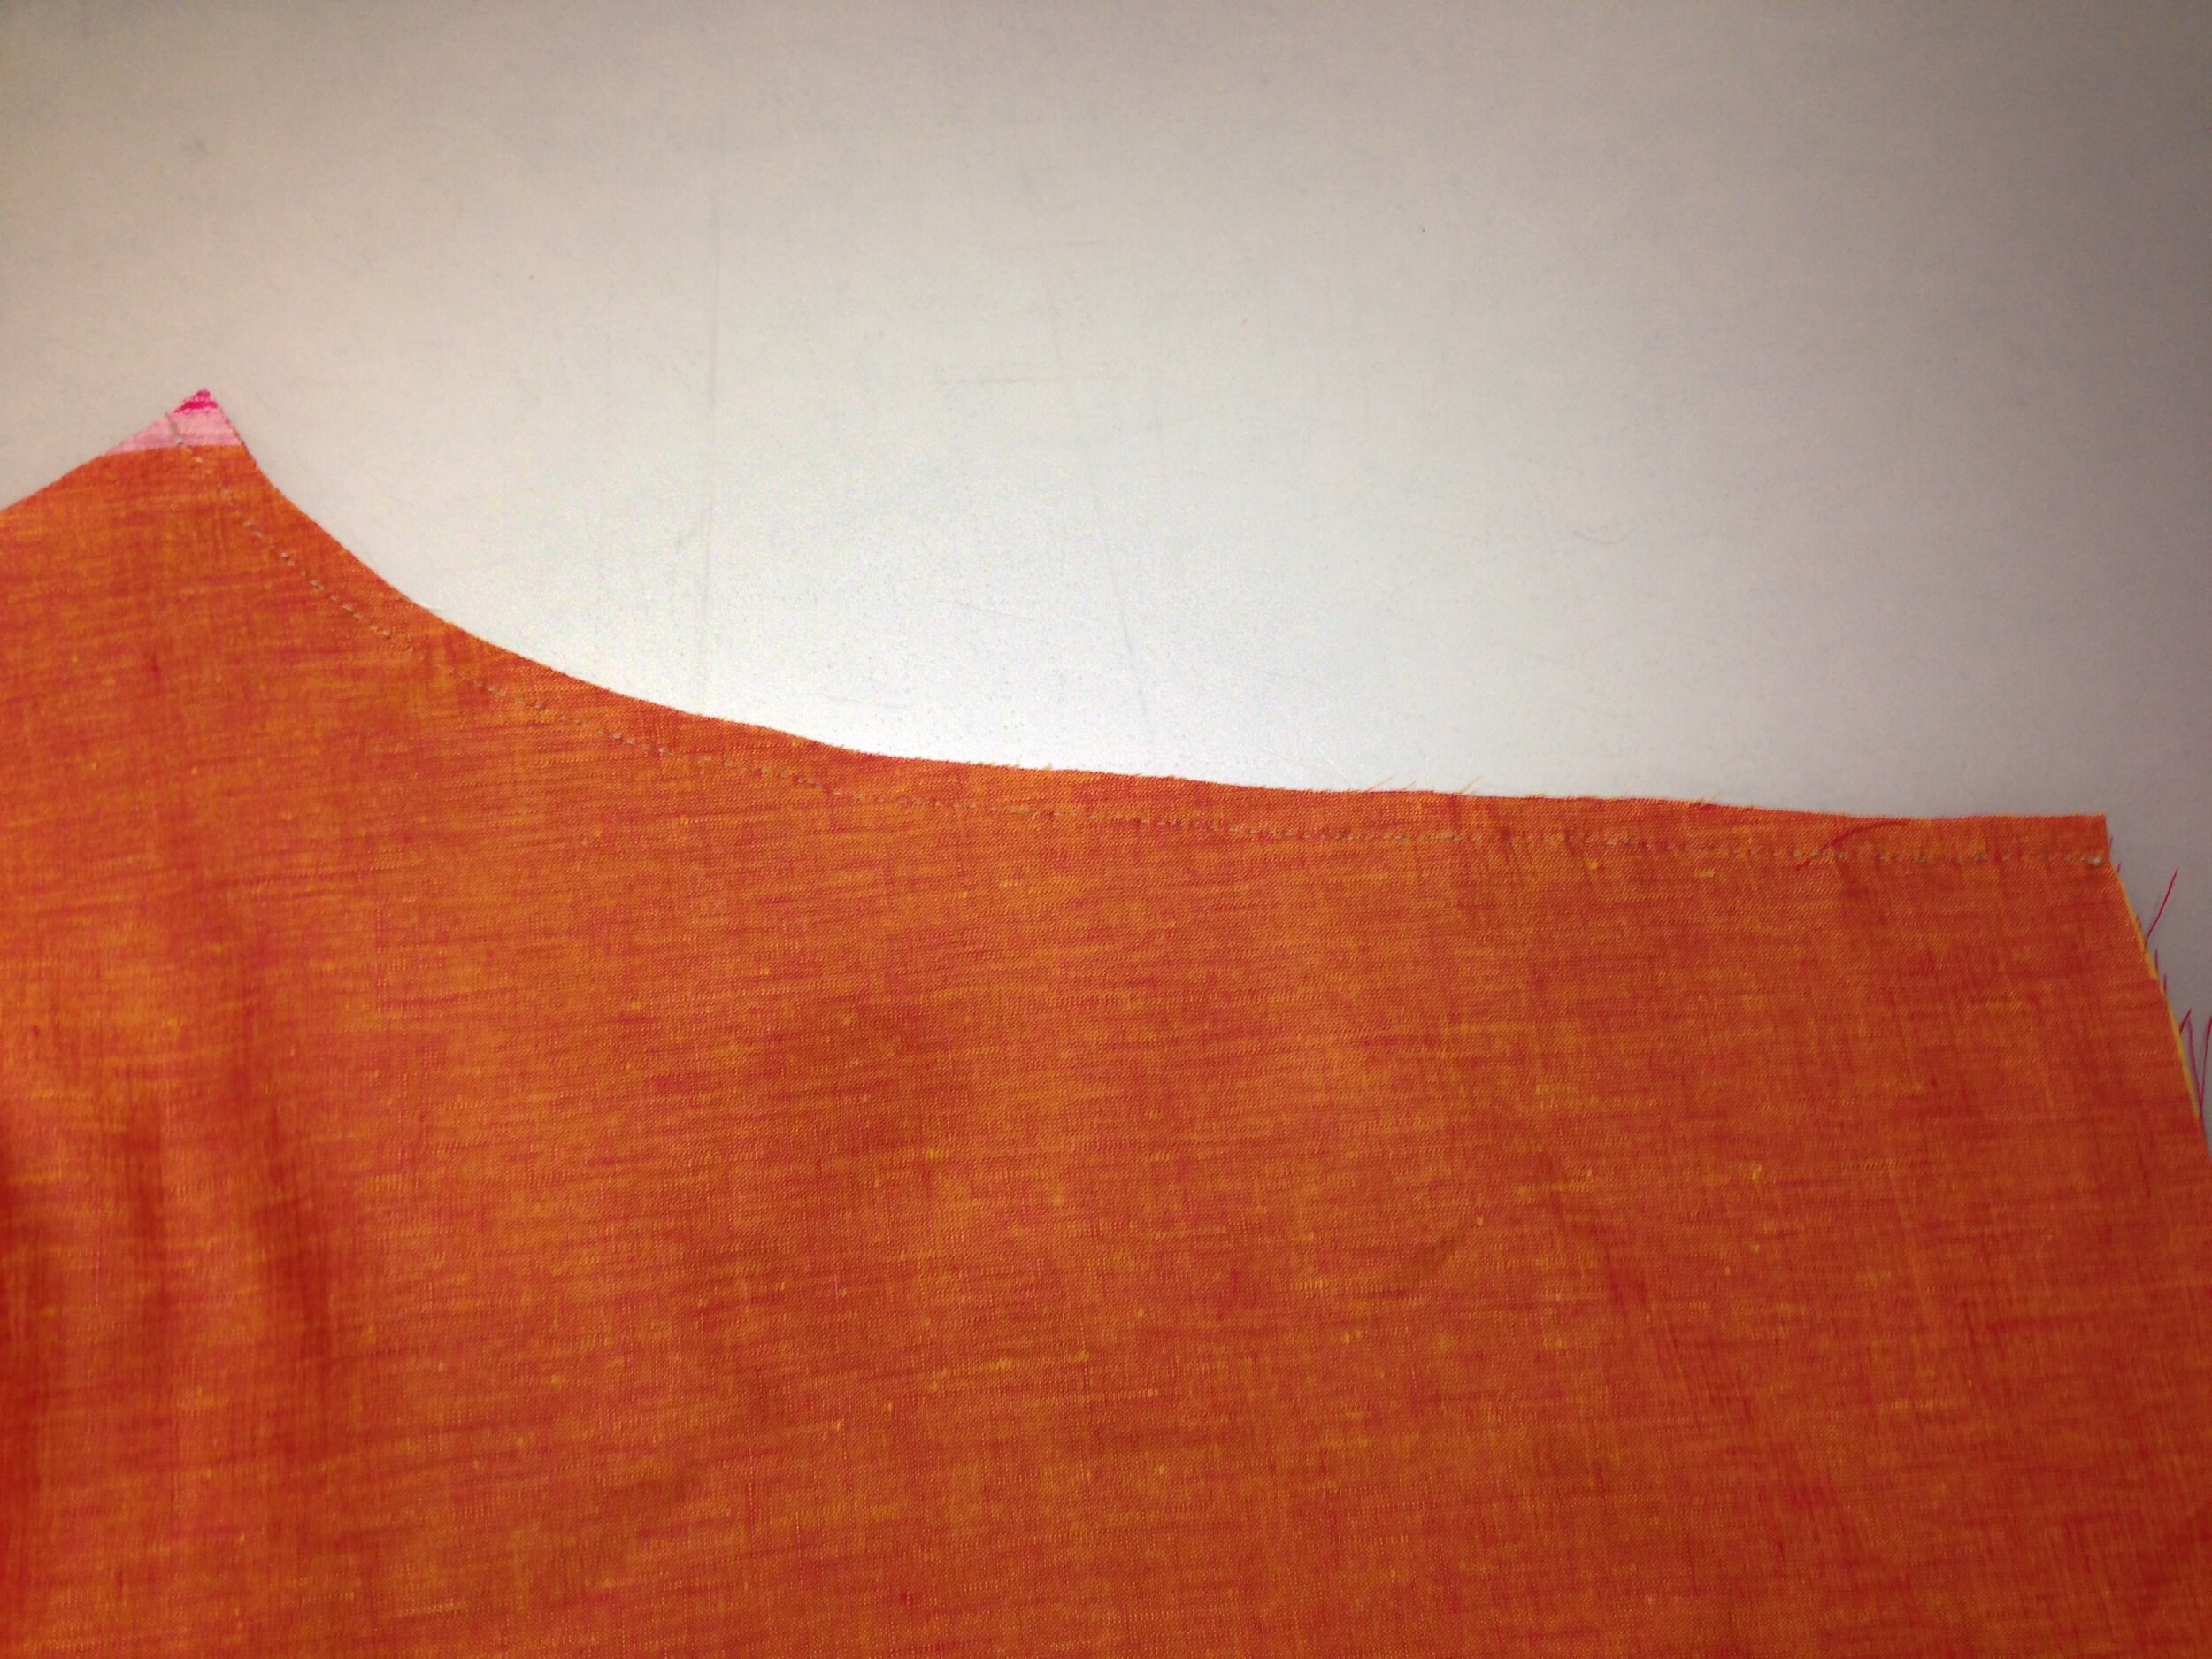
A period-style layout for breeches. Showing the proportions and placement.
Venetians Layout
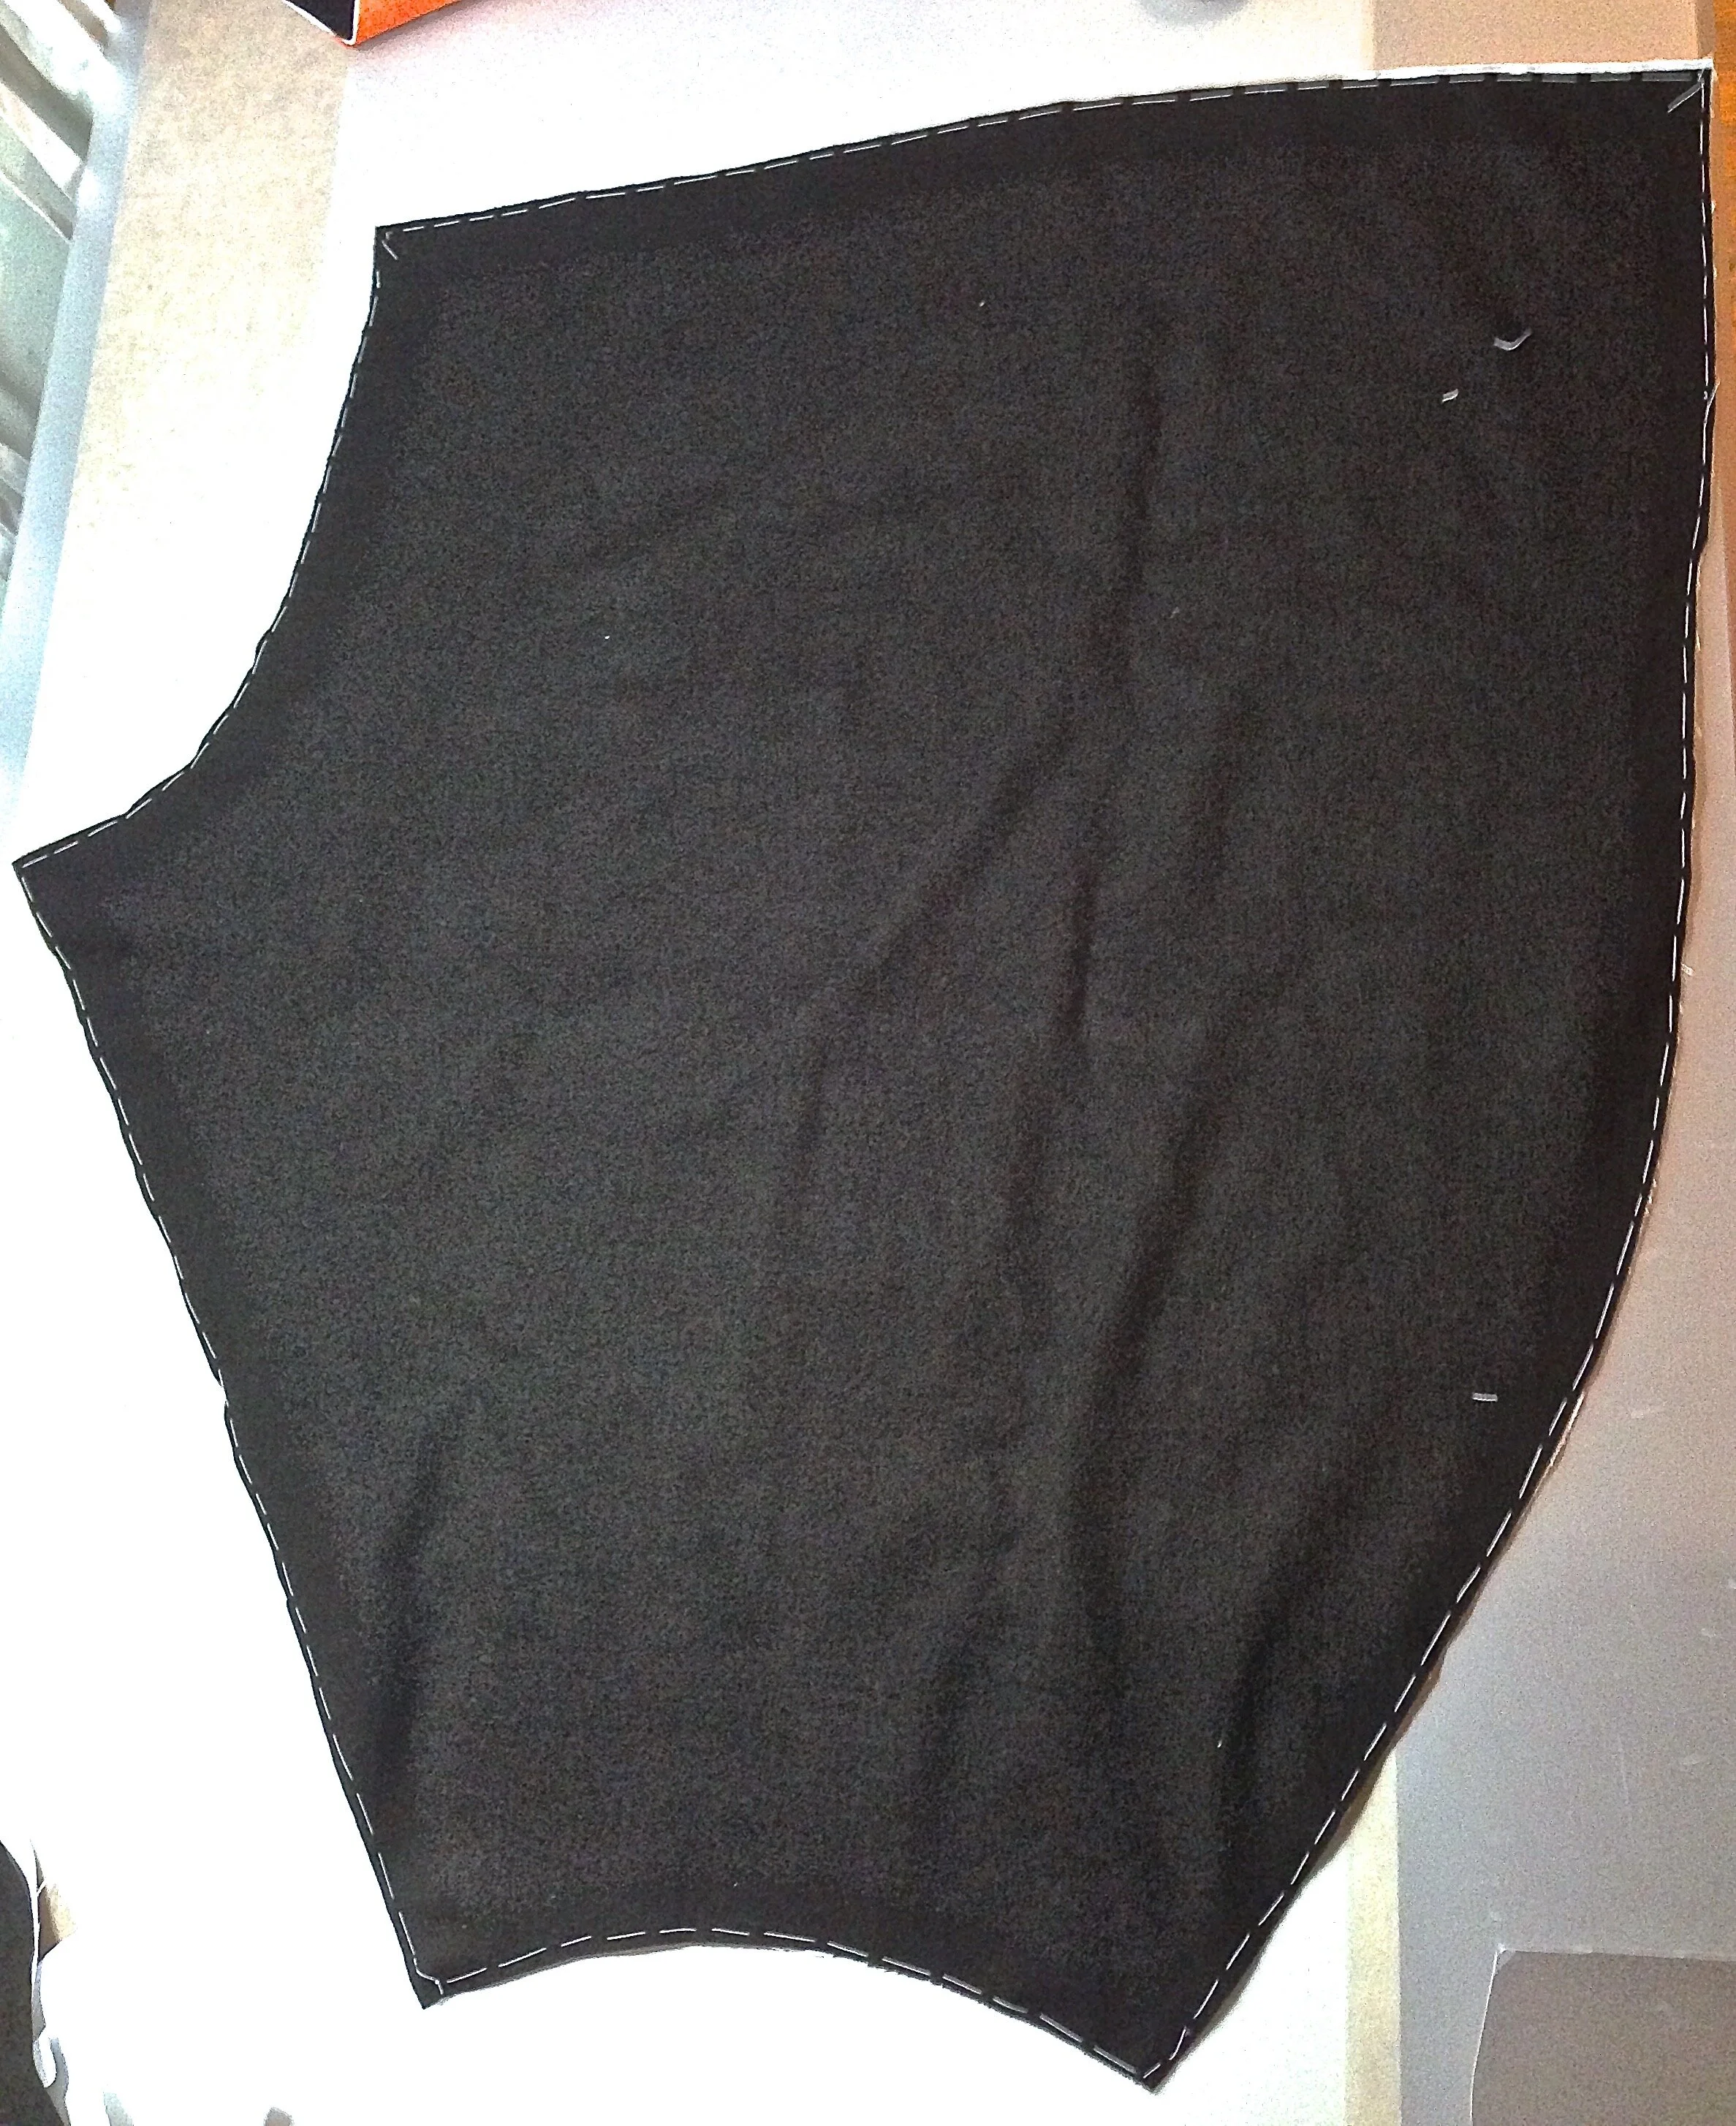
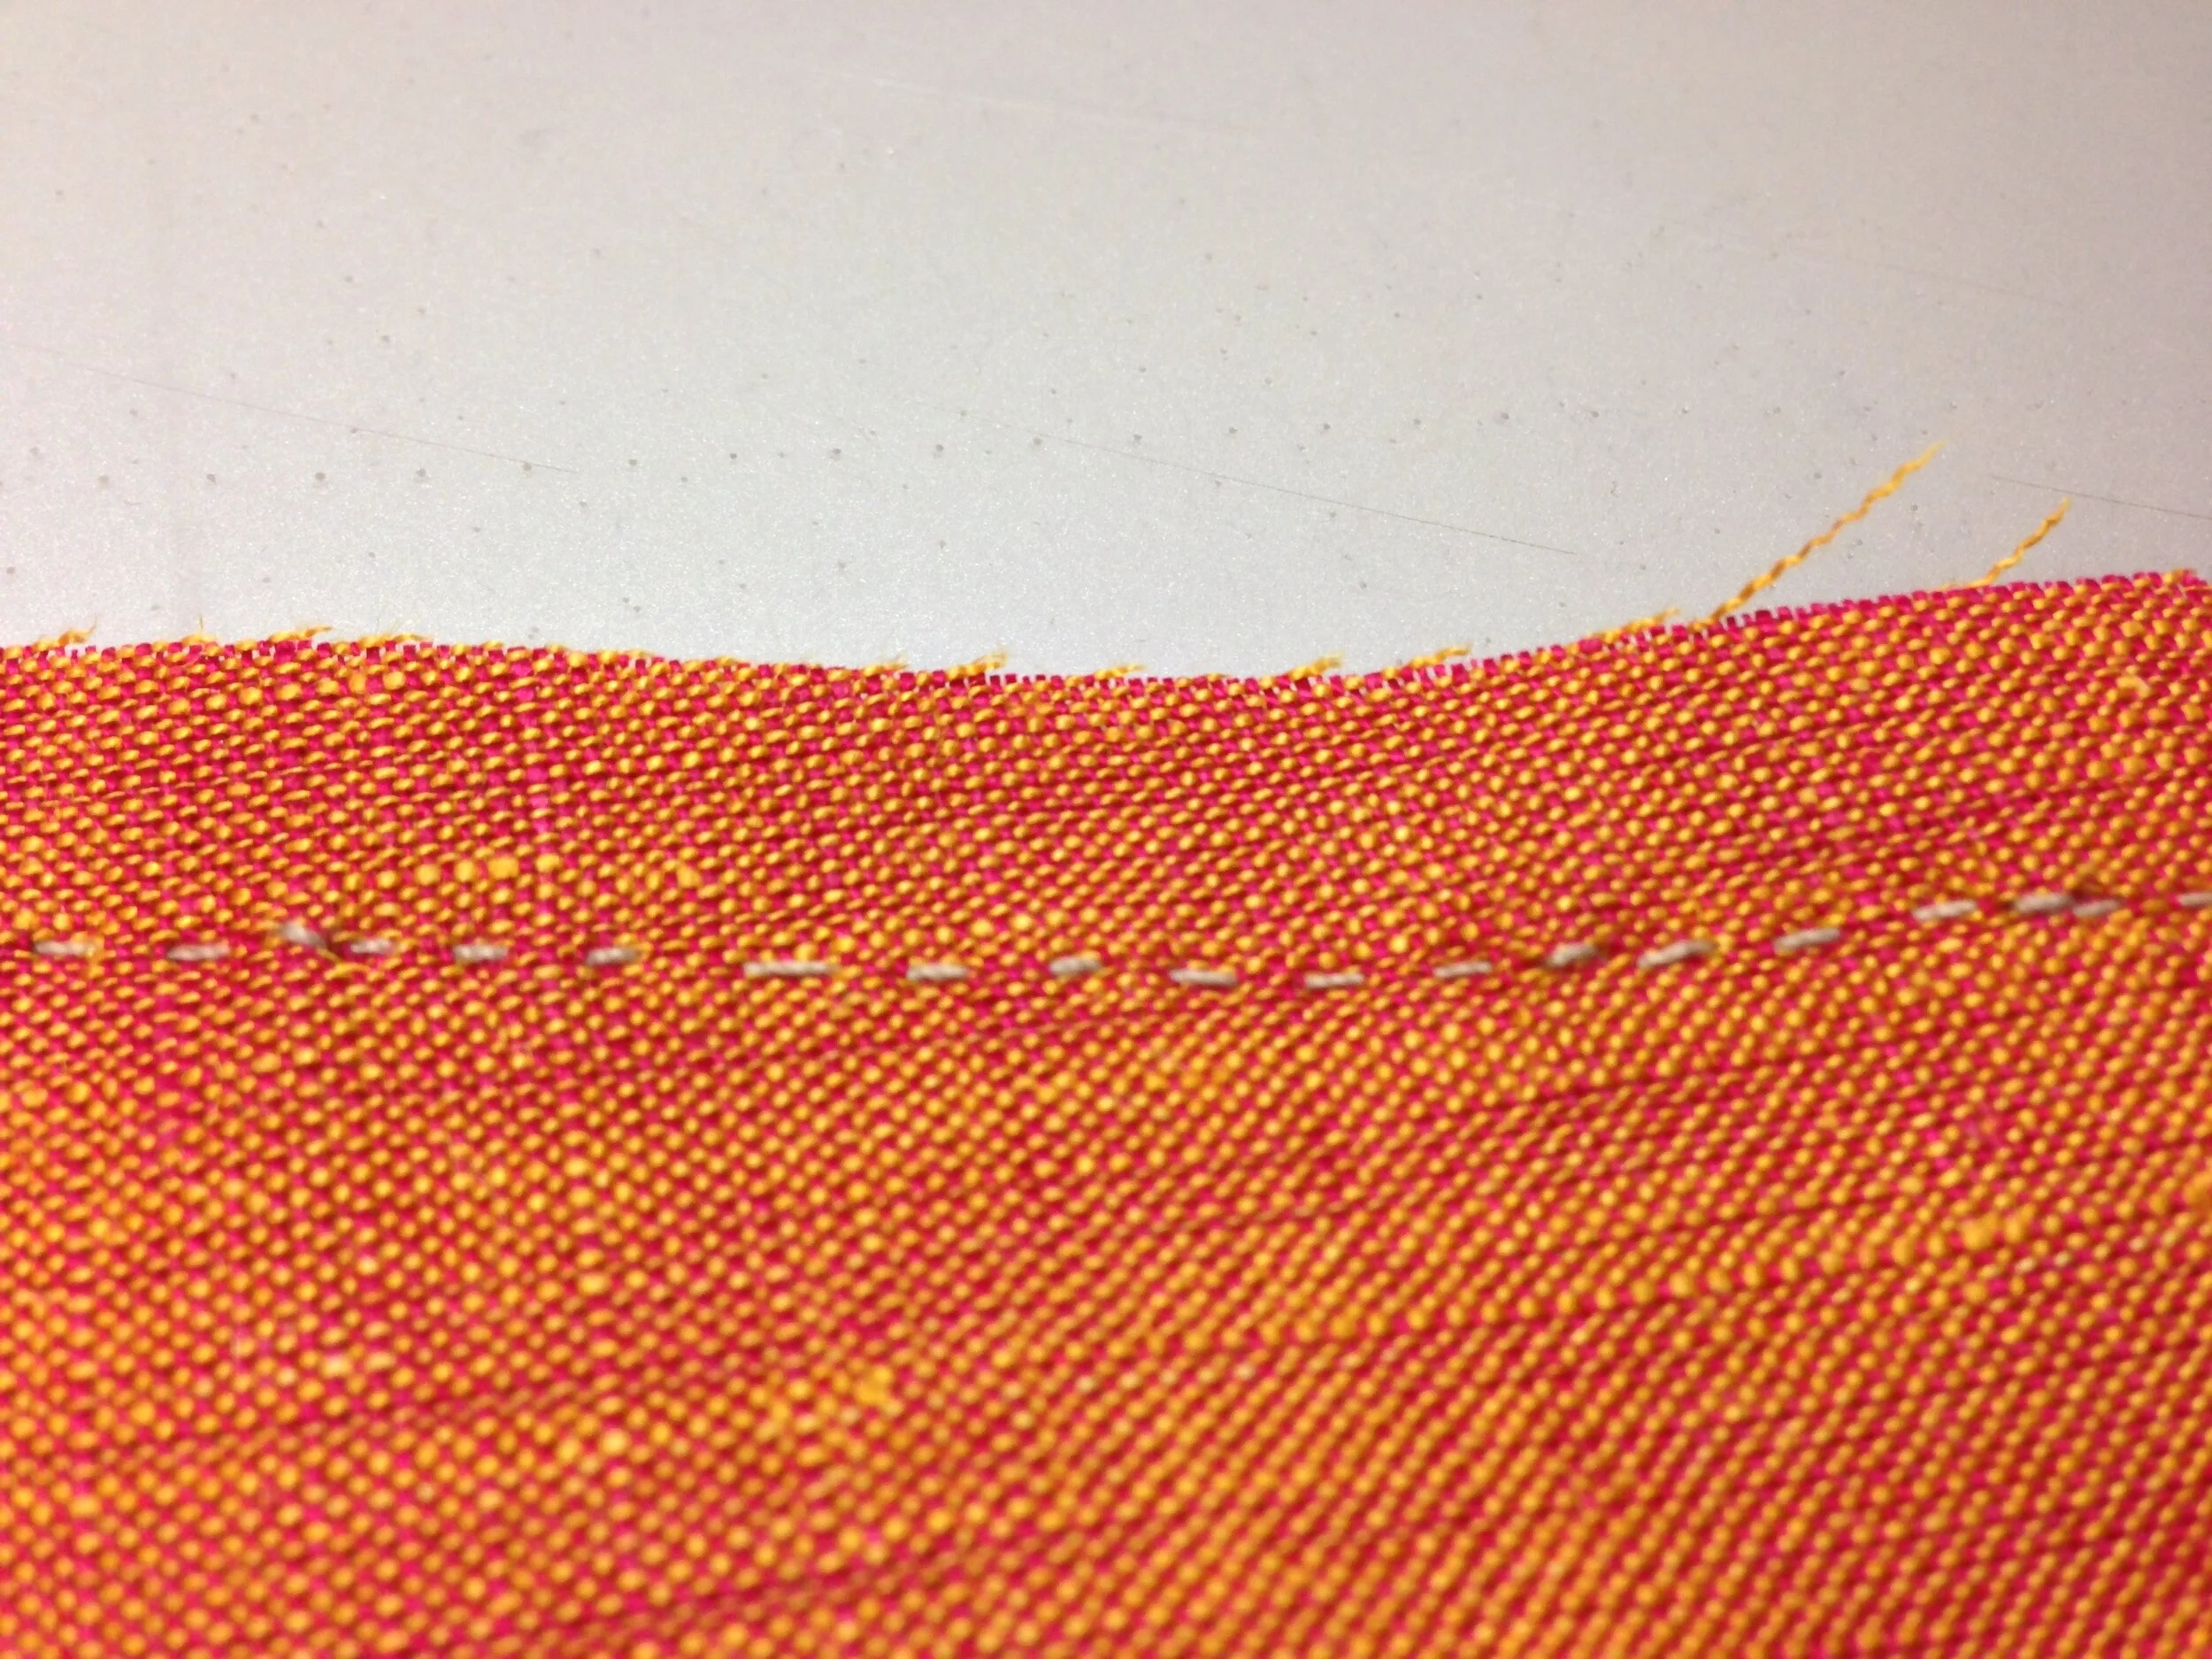
The cutting layout to the left shows how breeches can be cut out of the fabric. This layout can be adjusted for different sizes. While there isn’t much room to add length as given, there is plenty of room for additional width to be added for larger sizes or more fullness. If you need to cut for a taller person, add 1/8-1/4yd (13-26cm) to allow room for additional length. For garment-weight fabrics, you will need to cut an outer layer and interlining layer which will be worked together as though they are a single layer. You will also be cutting a separate lining. So at a minimum, your breeches should be three layers of material. If you’re working with a heavy textile like melton of one of the available reproductions of winter fabrics like Frieze, the interlining layer is not necessary.

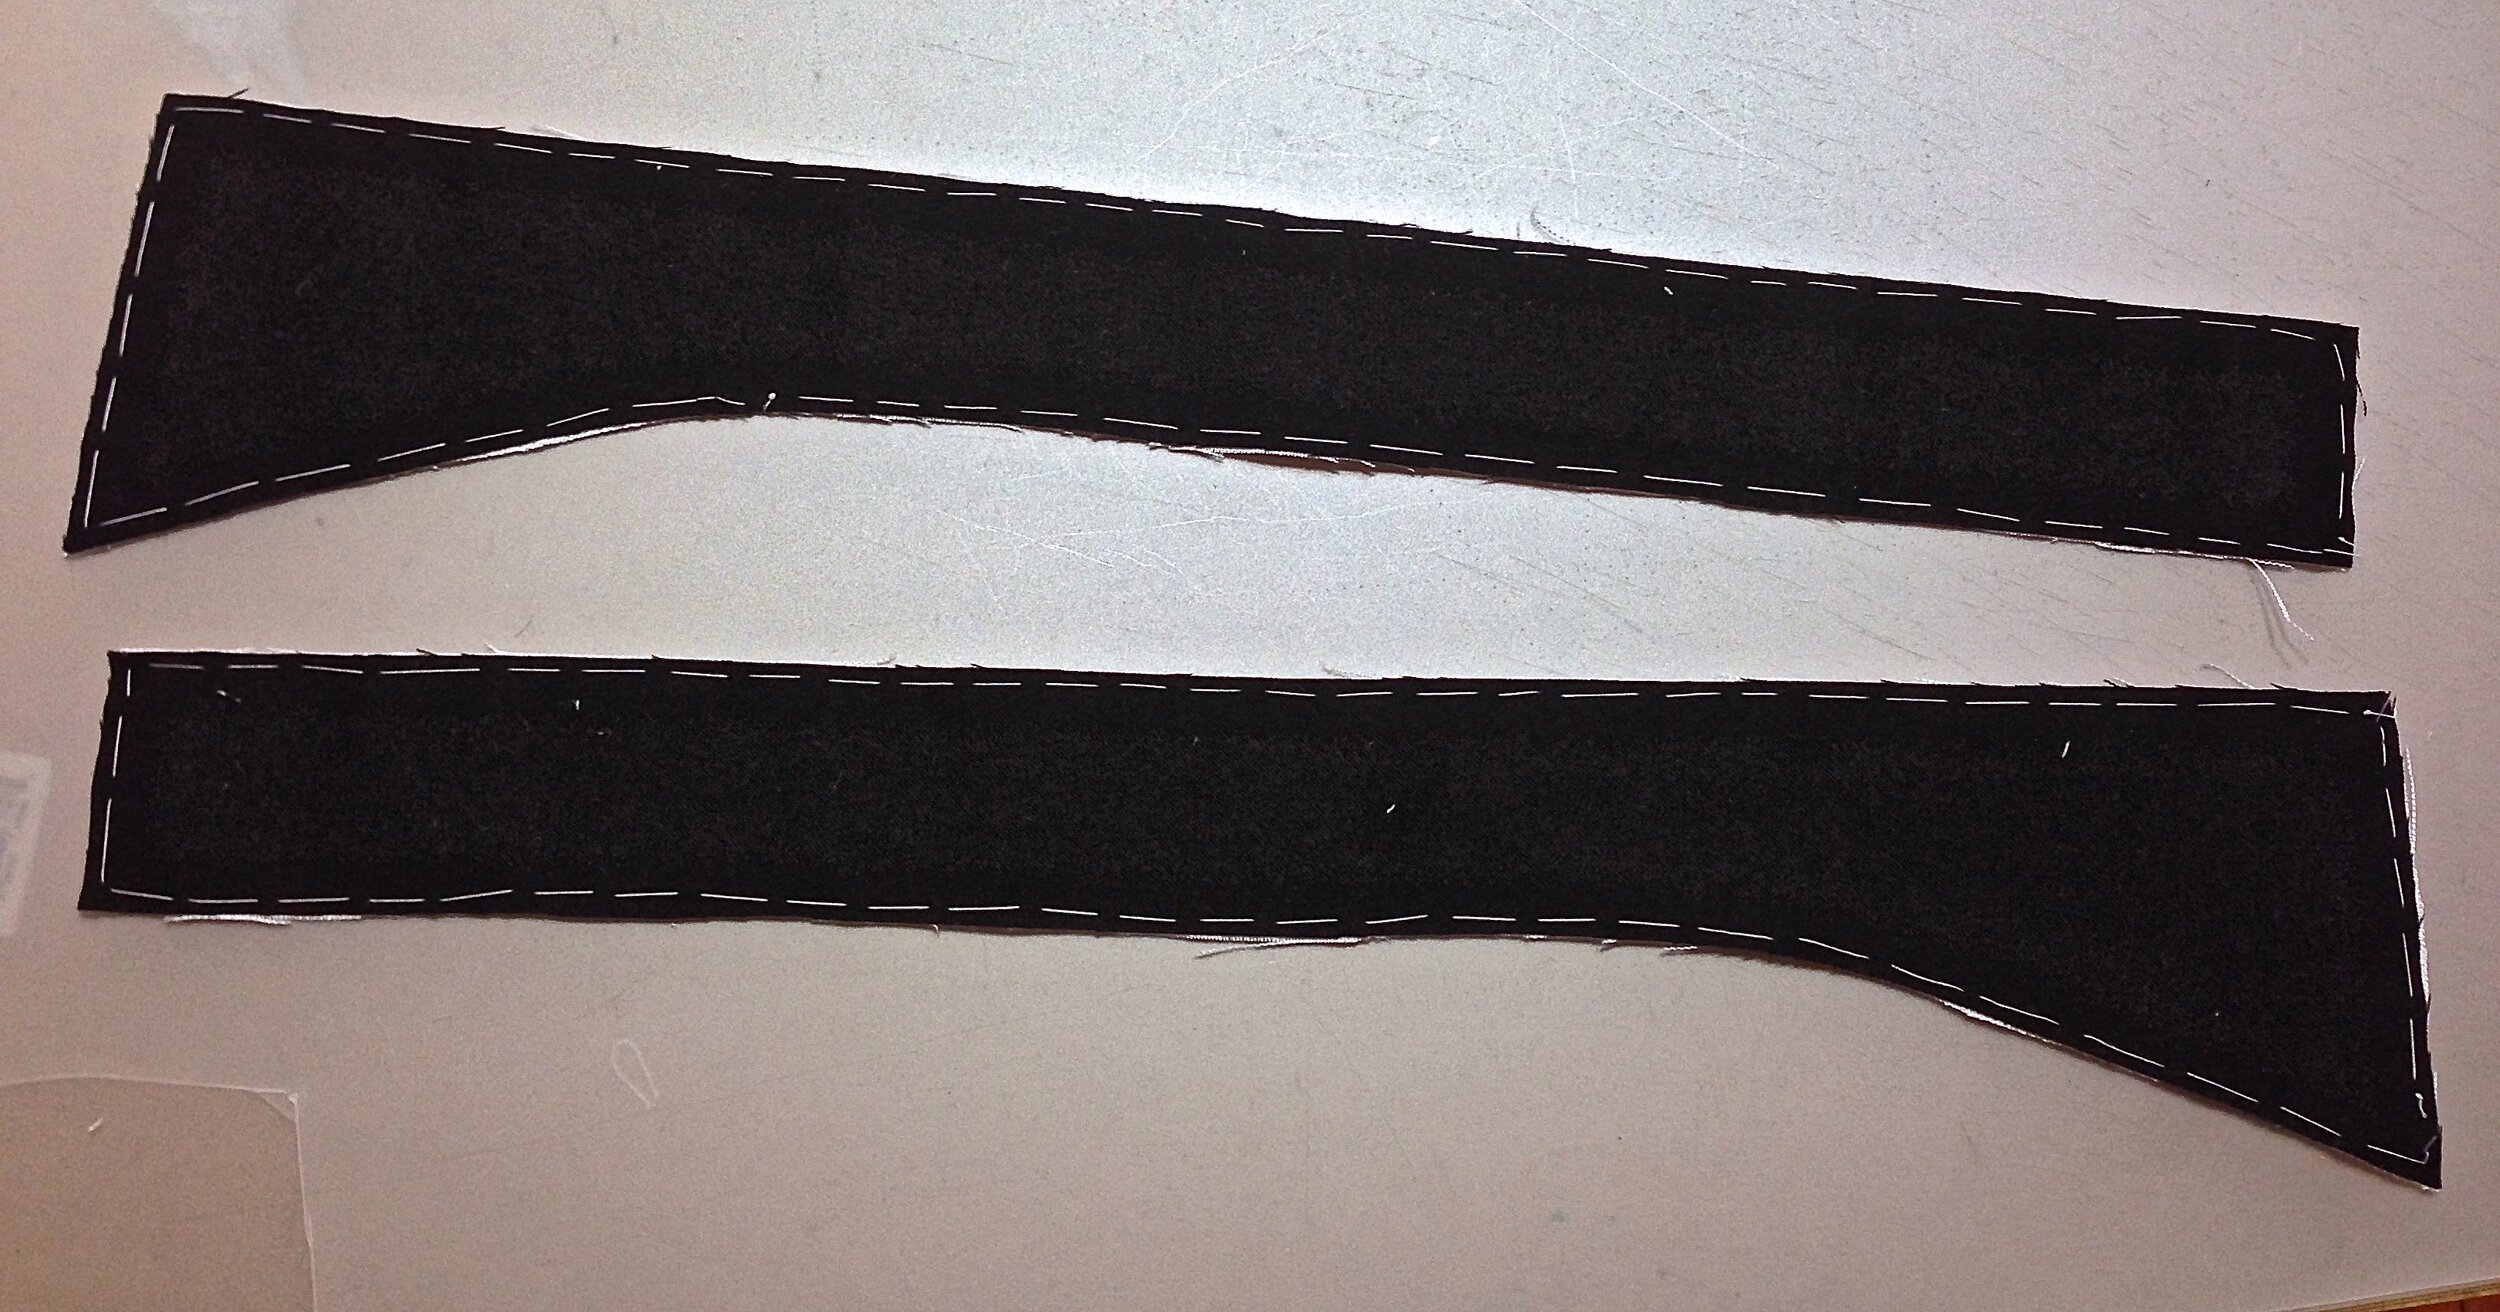
Begin by laying out the shapes according the layout diagram

I use my fingers to place the front drop for the waistband


In these images, I'm drafting directly to the cloth. There is no paper pattern.

I don't normally write in the proportions but they're here for your benefit.

The Waistband is cut on the straight grain

The pieces are cut
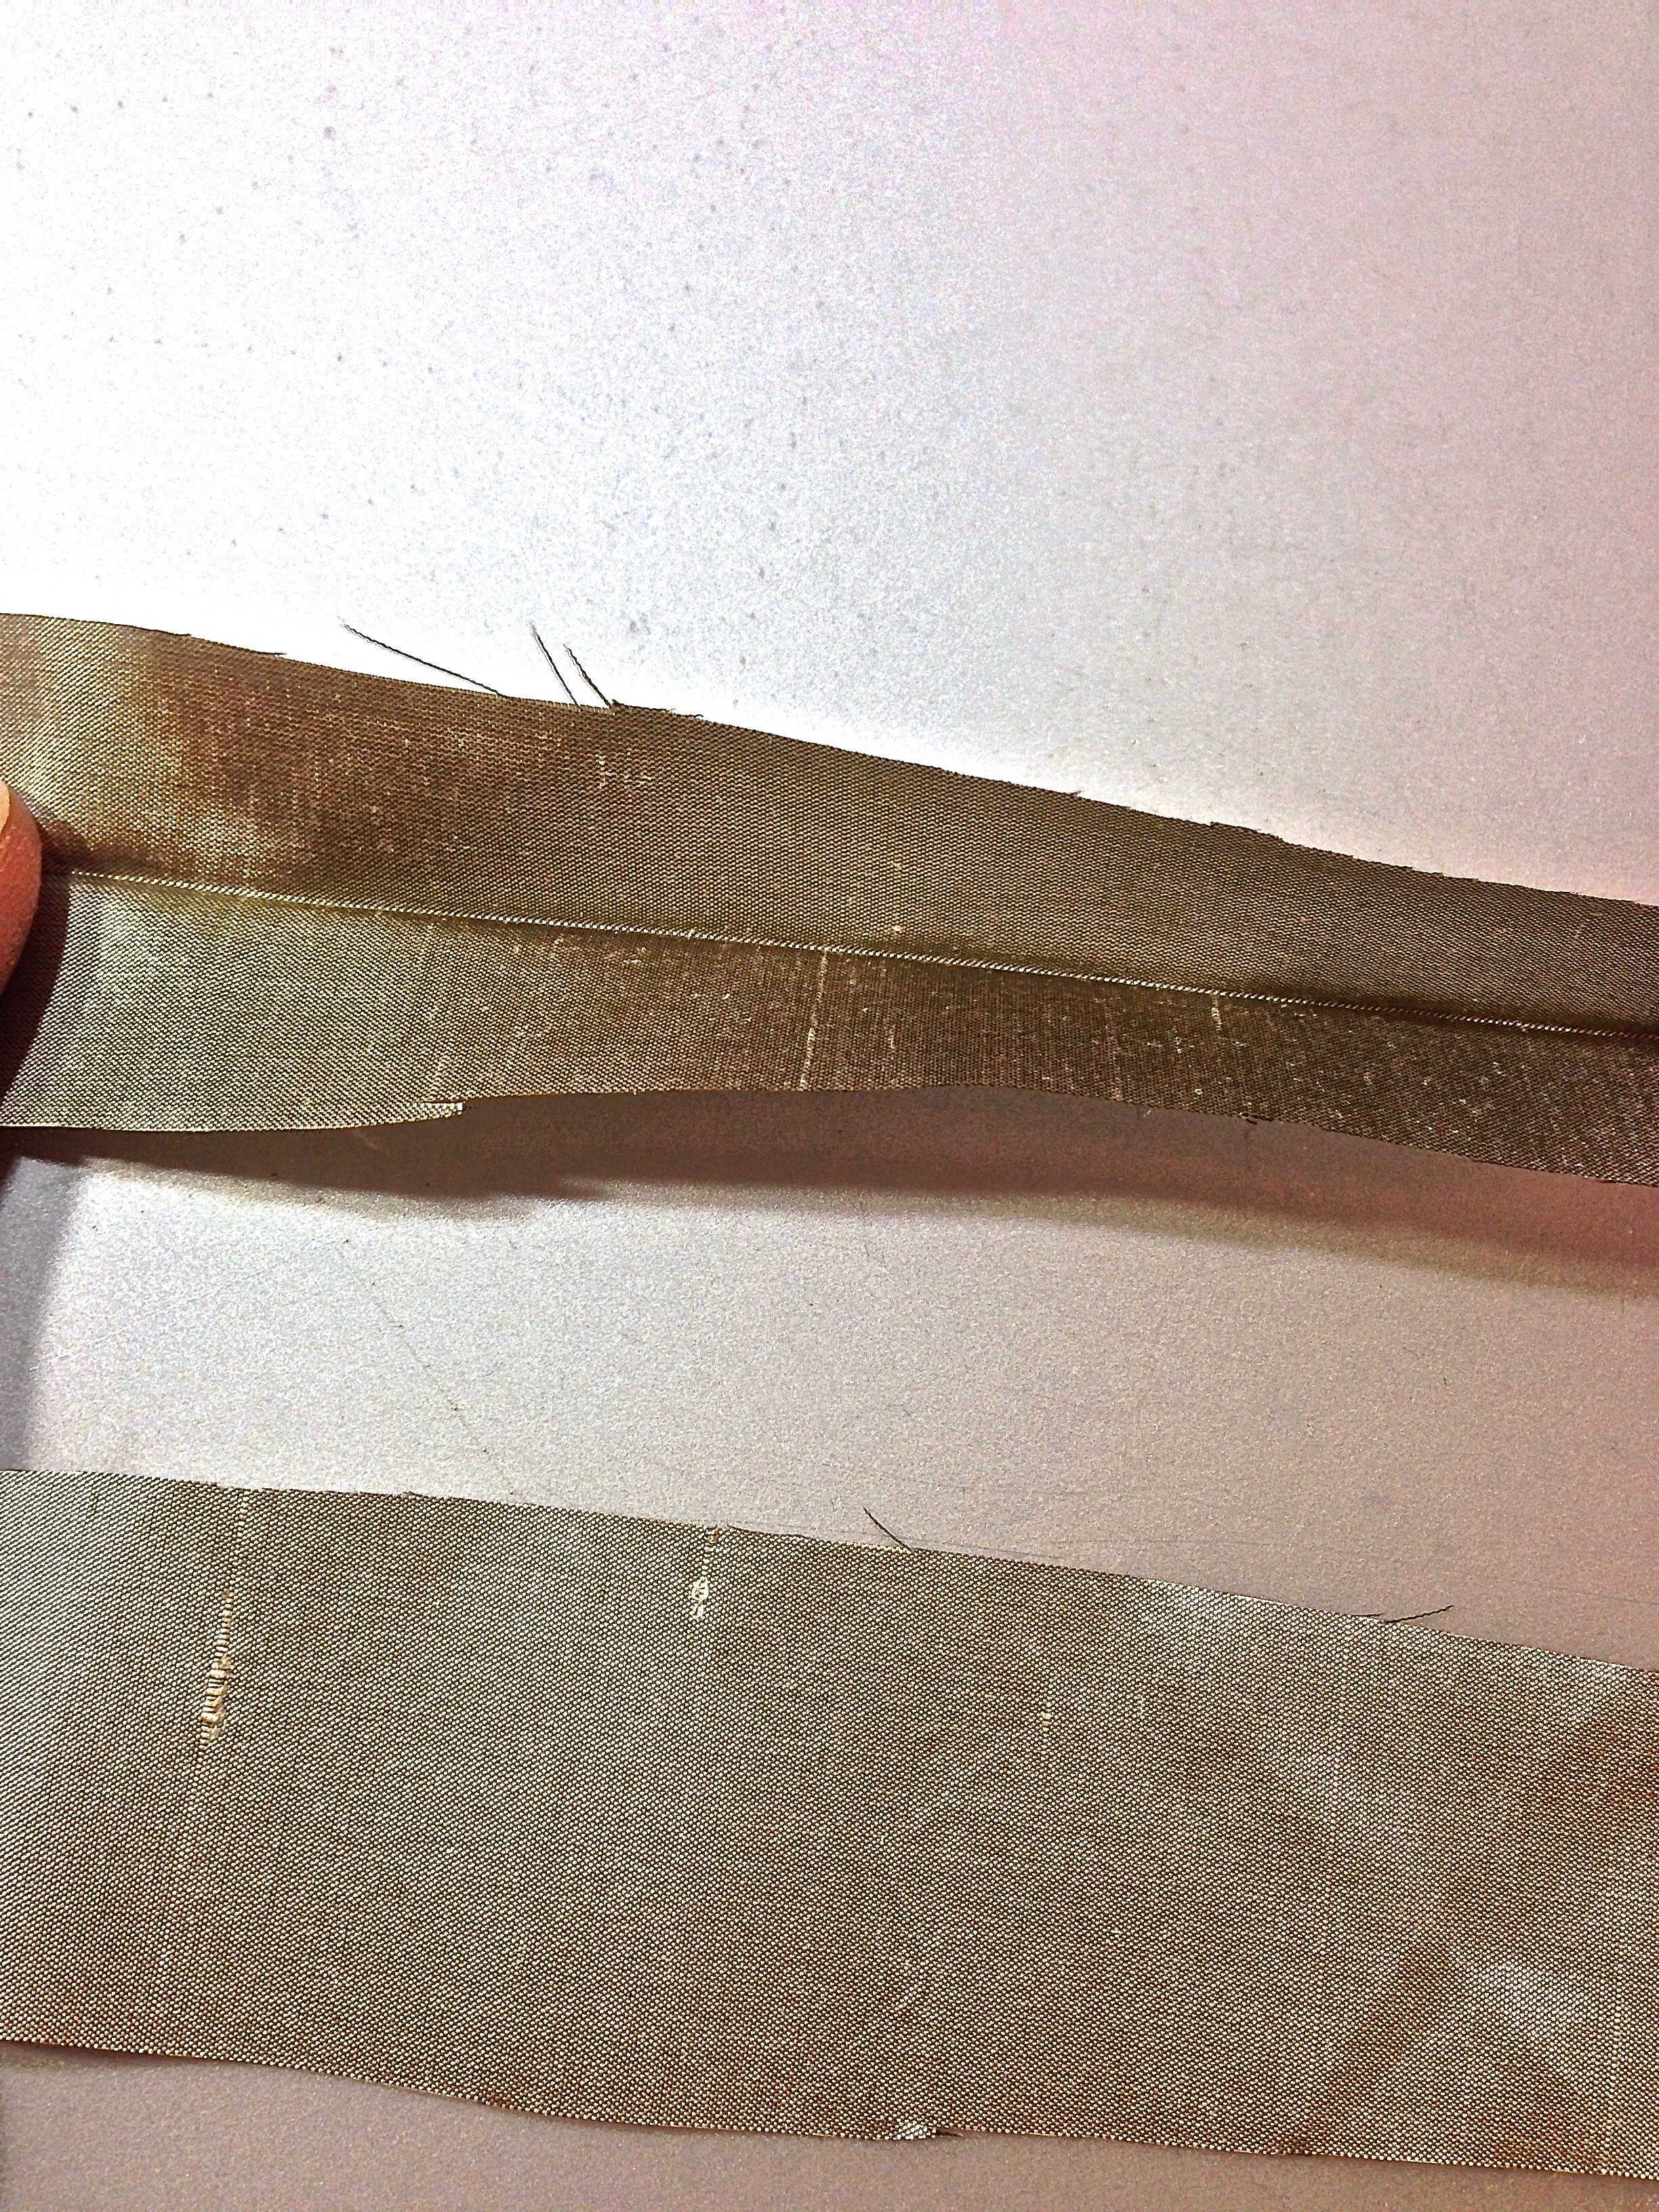
The interlining is cut to the same shape as the exterior and then they are basted together along the outer edges.
All pieces are interlined in this way. The interlining should be about the same weight as the exterior fabric.

Keep the basting close to the edge. It will be permanent.
If you are adding decoration, this is the time to apply it. While the pieces are interlined but flat.

A line is drawn to place the trim


Trim is sewn on

first pass

Second pass


pinking


Stitch the ouseam in the center with a back stitch

The bottom is left open for the leg.

Allowances are pressed open


Allowances are stitched down with a whip stitch. These stitches do not show on the outside.

Bar tacks are added at top and bottom


A view from the outside


Sew the bottom of the pocket bag into a curved pouch shape

Use a felling stitch to sew the pocket into the pocket opening


Using white basting thread, whip the pocket opening closed to make the rest of the assembly easier.


Stitch the center back of the waistband with a strong back stitch.


Press open and stitch allowances down.


Nest the legs together and align the crotches.
Use a back stitch to sew the crotch closed.

Leave and opening at center front for the fly


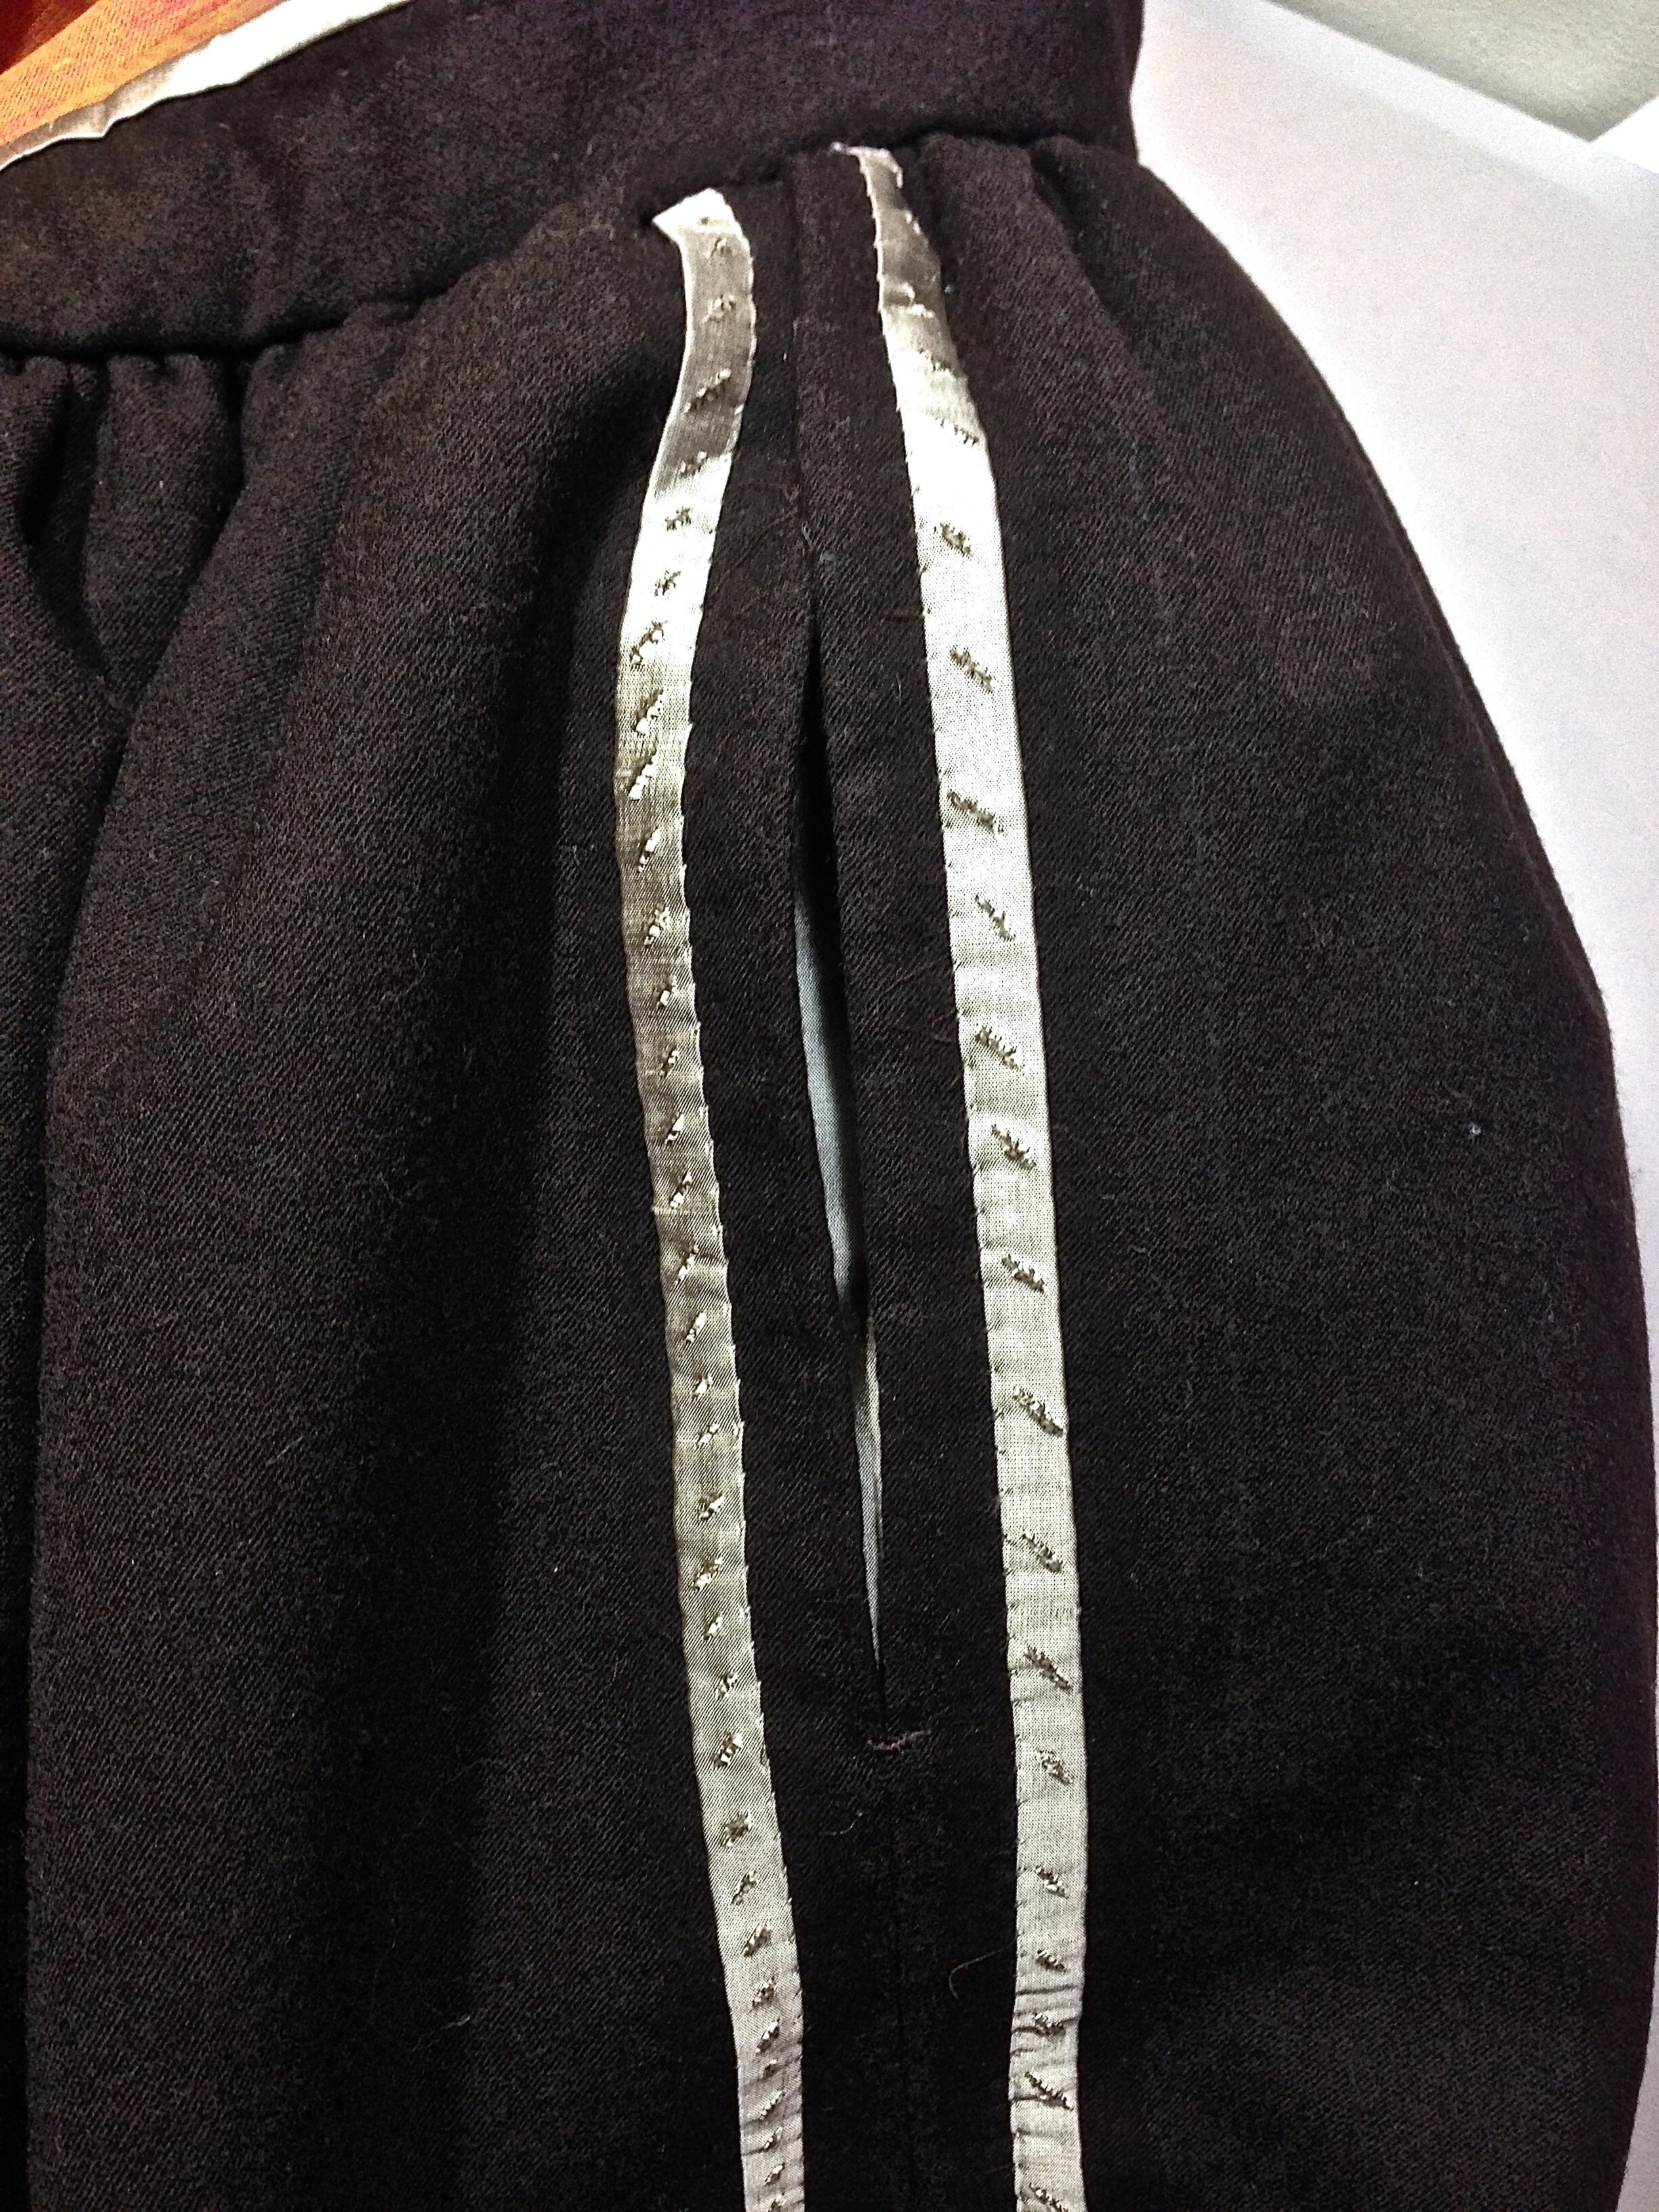
Use the hip tape and mark from center front for the depth of the front pleat.

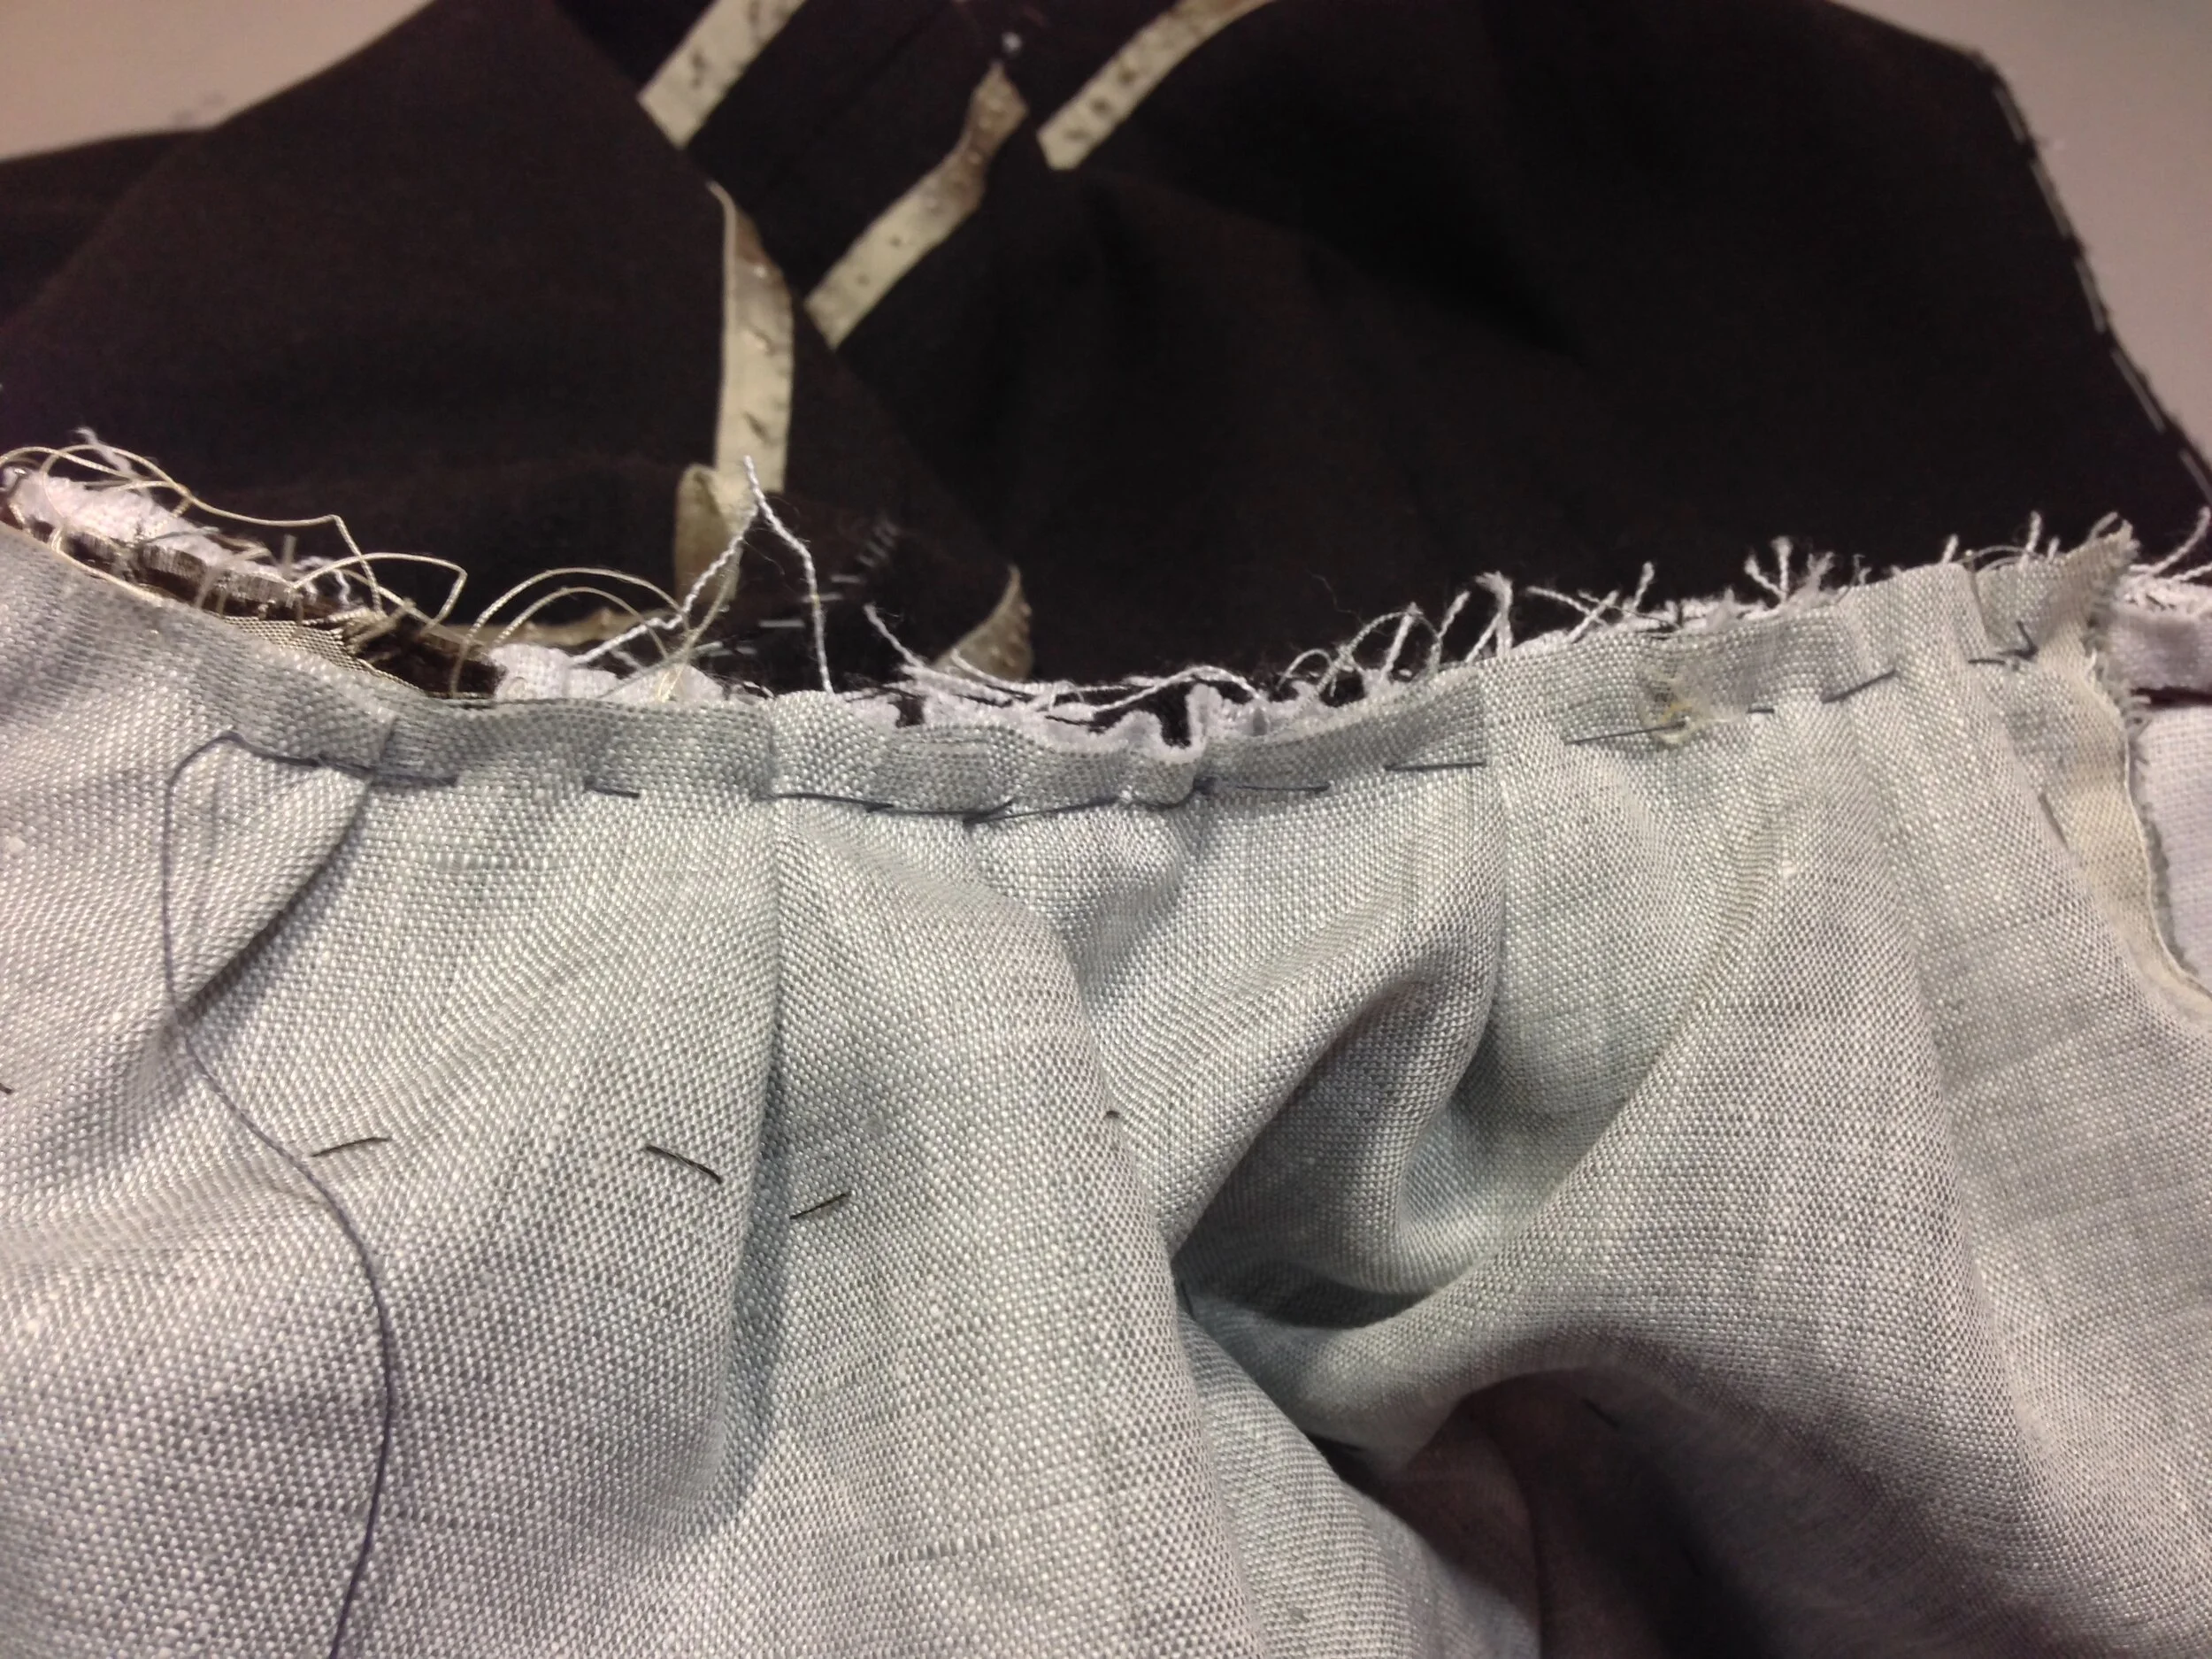
Run a gathering line along the first quarter of the waist.

Start the gathers at the outer fold of the pleat.


As you attach to the waistband, leave a little corner protruding like this. It makes the edges line up better after sewing.

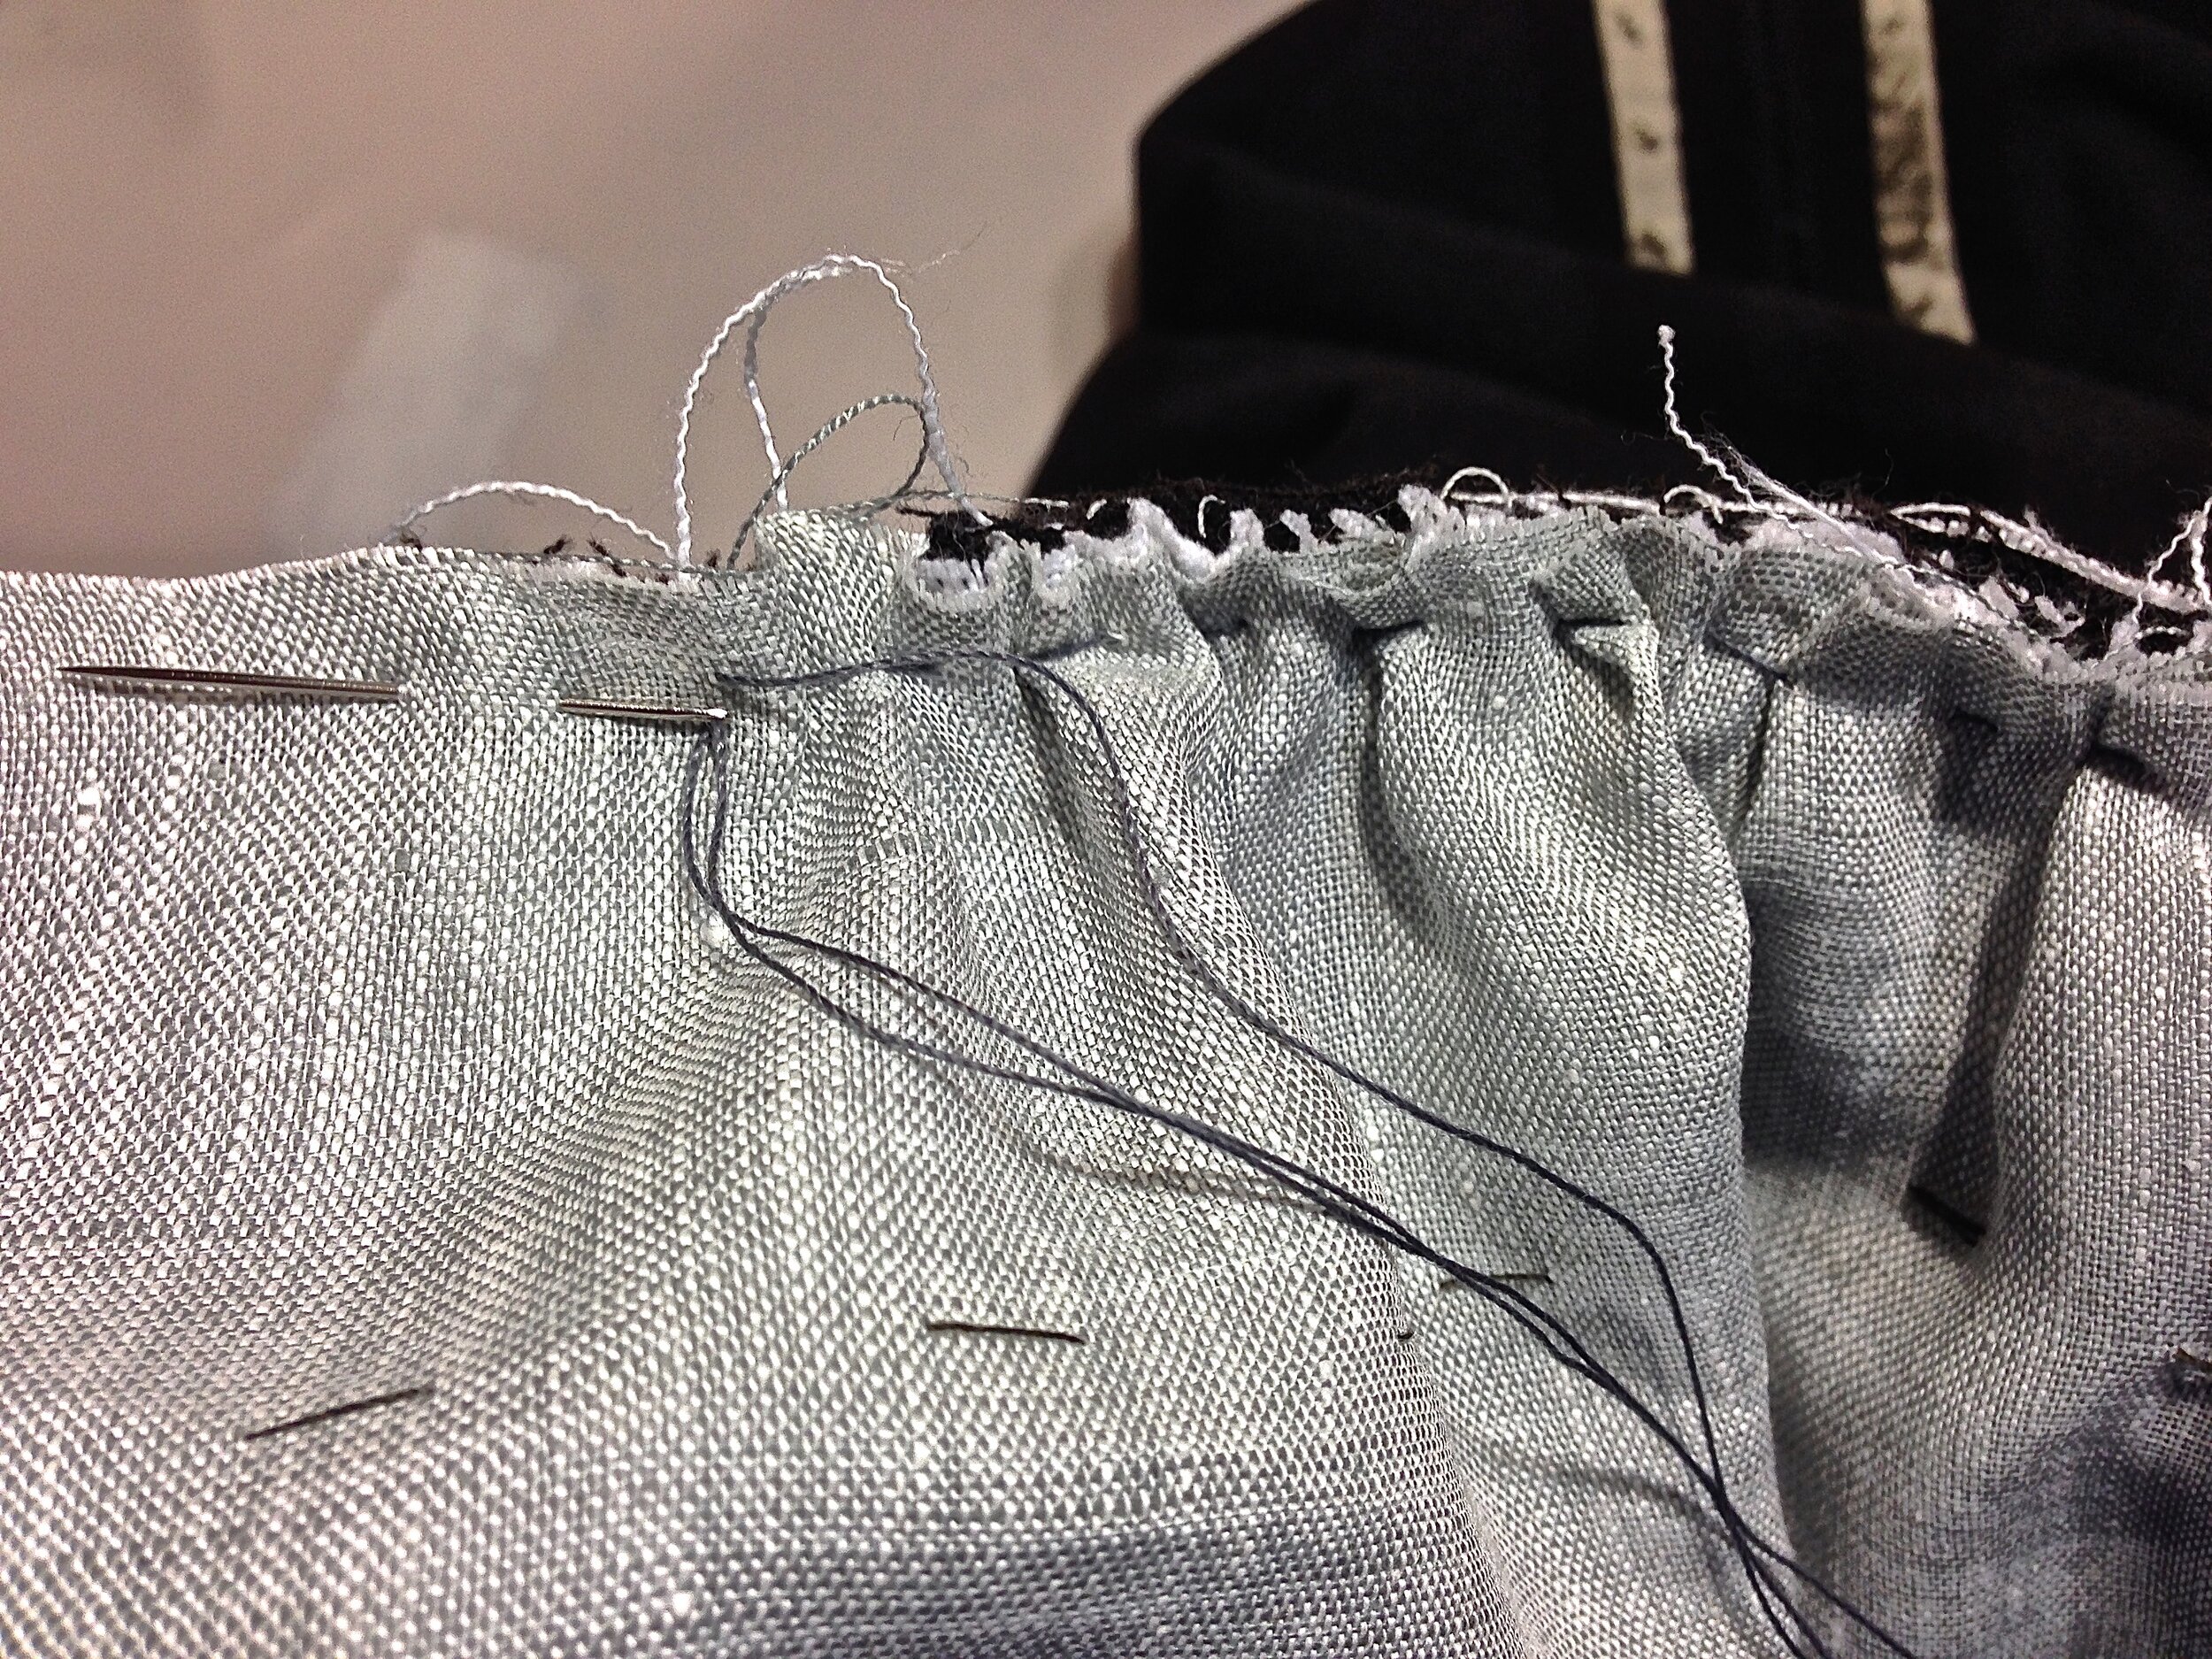
Gathering stitches are worked right to left along the front and stop at the pocket.

Draw up the gathering threads

Begin securing them, left to right with a back stitch.

Each stitch should encircle and secure one or two folds of the gathers.

This will keep the folds tidy and organized.


Repeat the process for each quarter panel of the breeches until the whole waist is copmletely gathered and stitched.

The deep pleat runs all the way to center front. It will completely hide the fly when worn.

Next, secure the pocket bag to the waist at the top.

Pleat the top of the bag and use a back stitch to sew it to the allowances on the inside. This should be strong but needn't go through all layers.


Begin making the hip pad, if you're using an internal structure like this. I use a 14" (35.5cm) wide strip of dense, heavy cloth that is about 1.5 times the waist measurement. It is filled with wool or cotton wadding.

Folded almost in half, but not quite. Leave a single layer exposed for sewing to the waist. We use a single layer here to avoid thickening the waist area any more than is strictly necessary

Once folded, it is sewn closed like this.

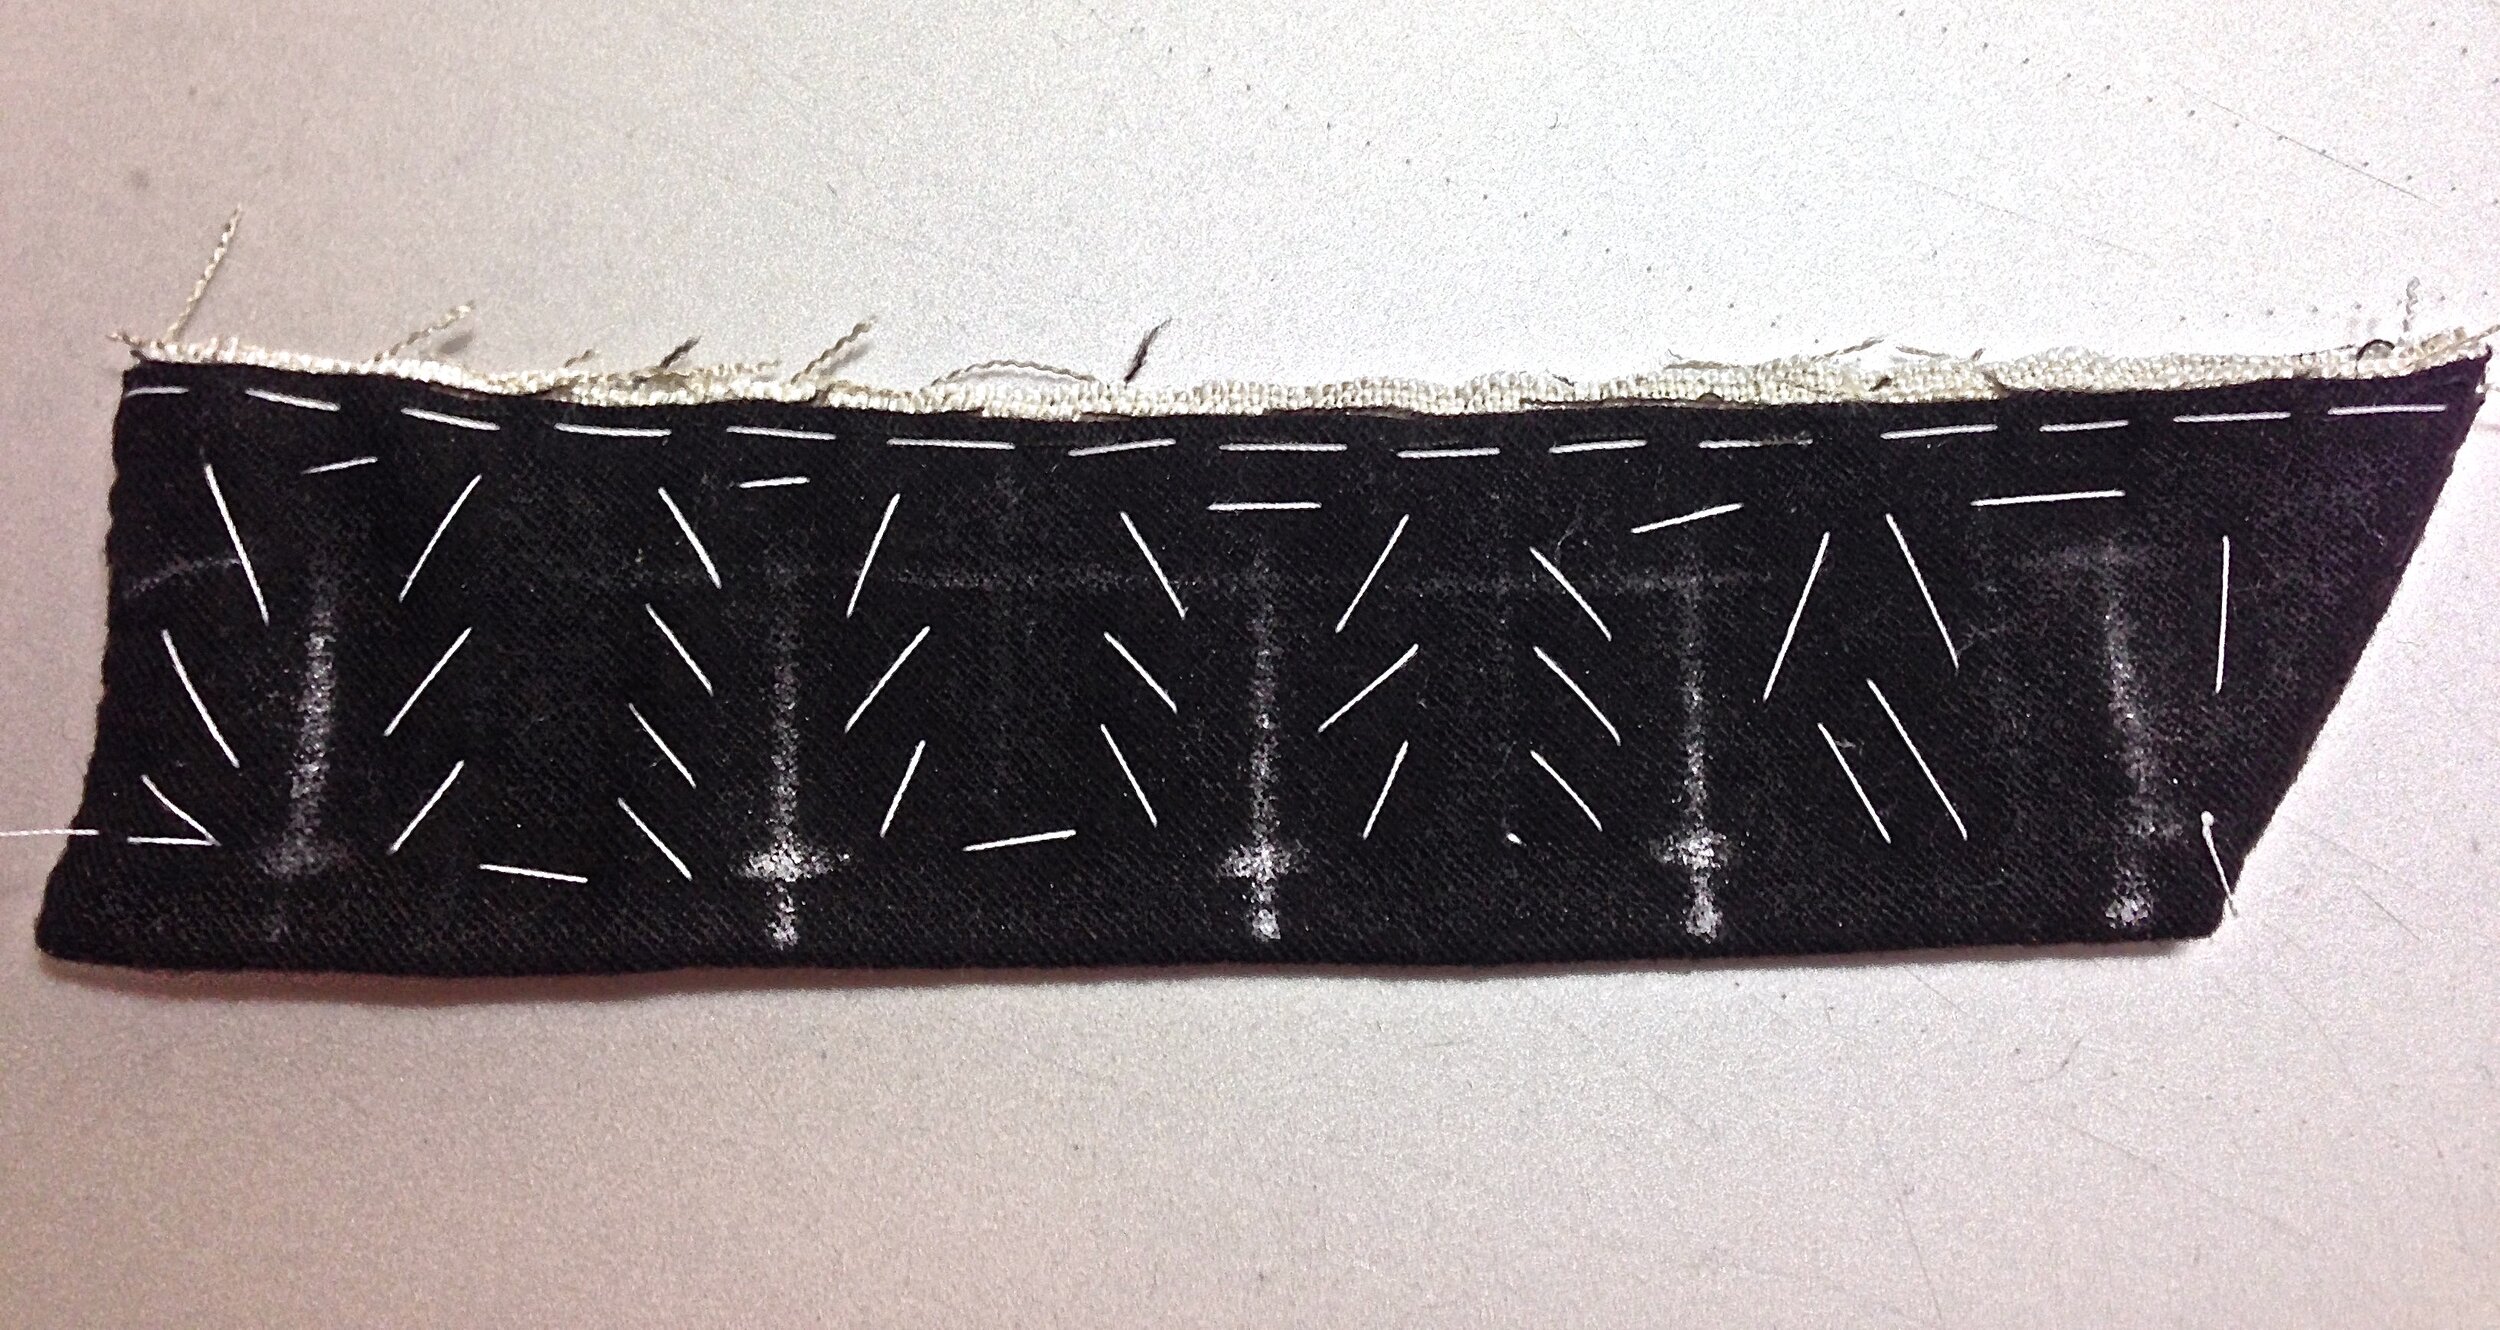
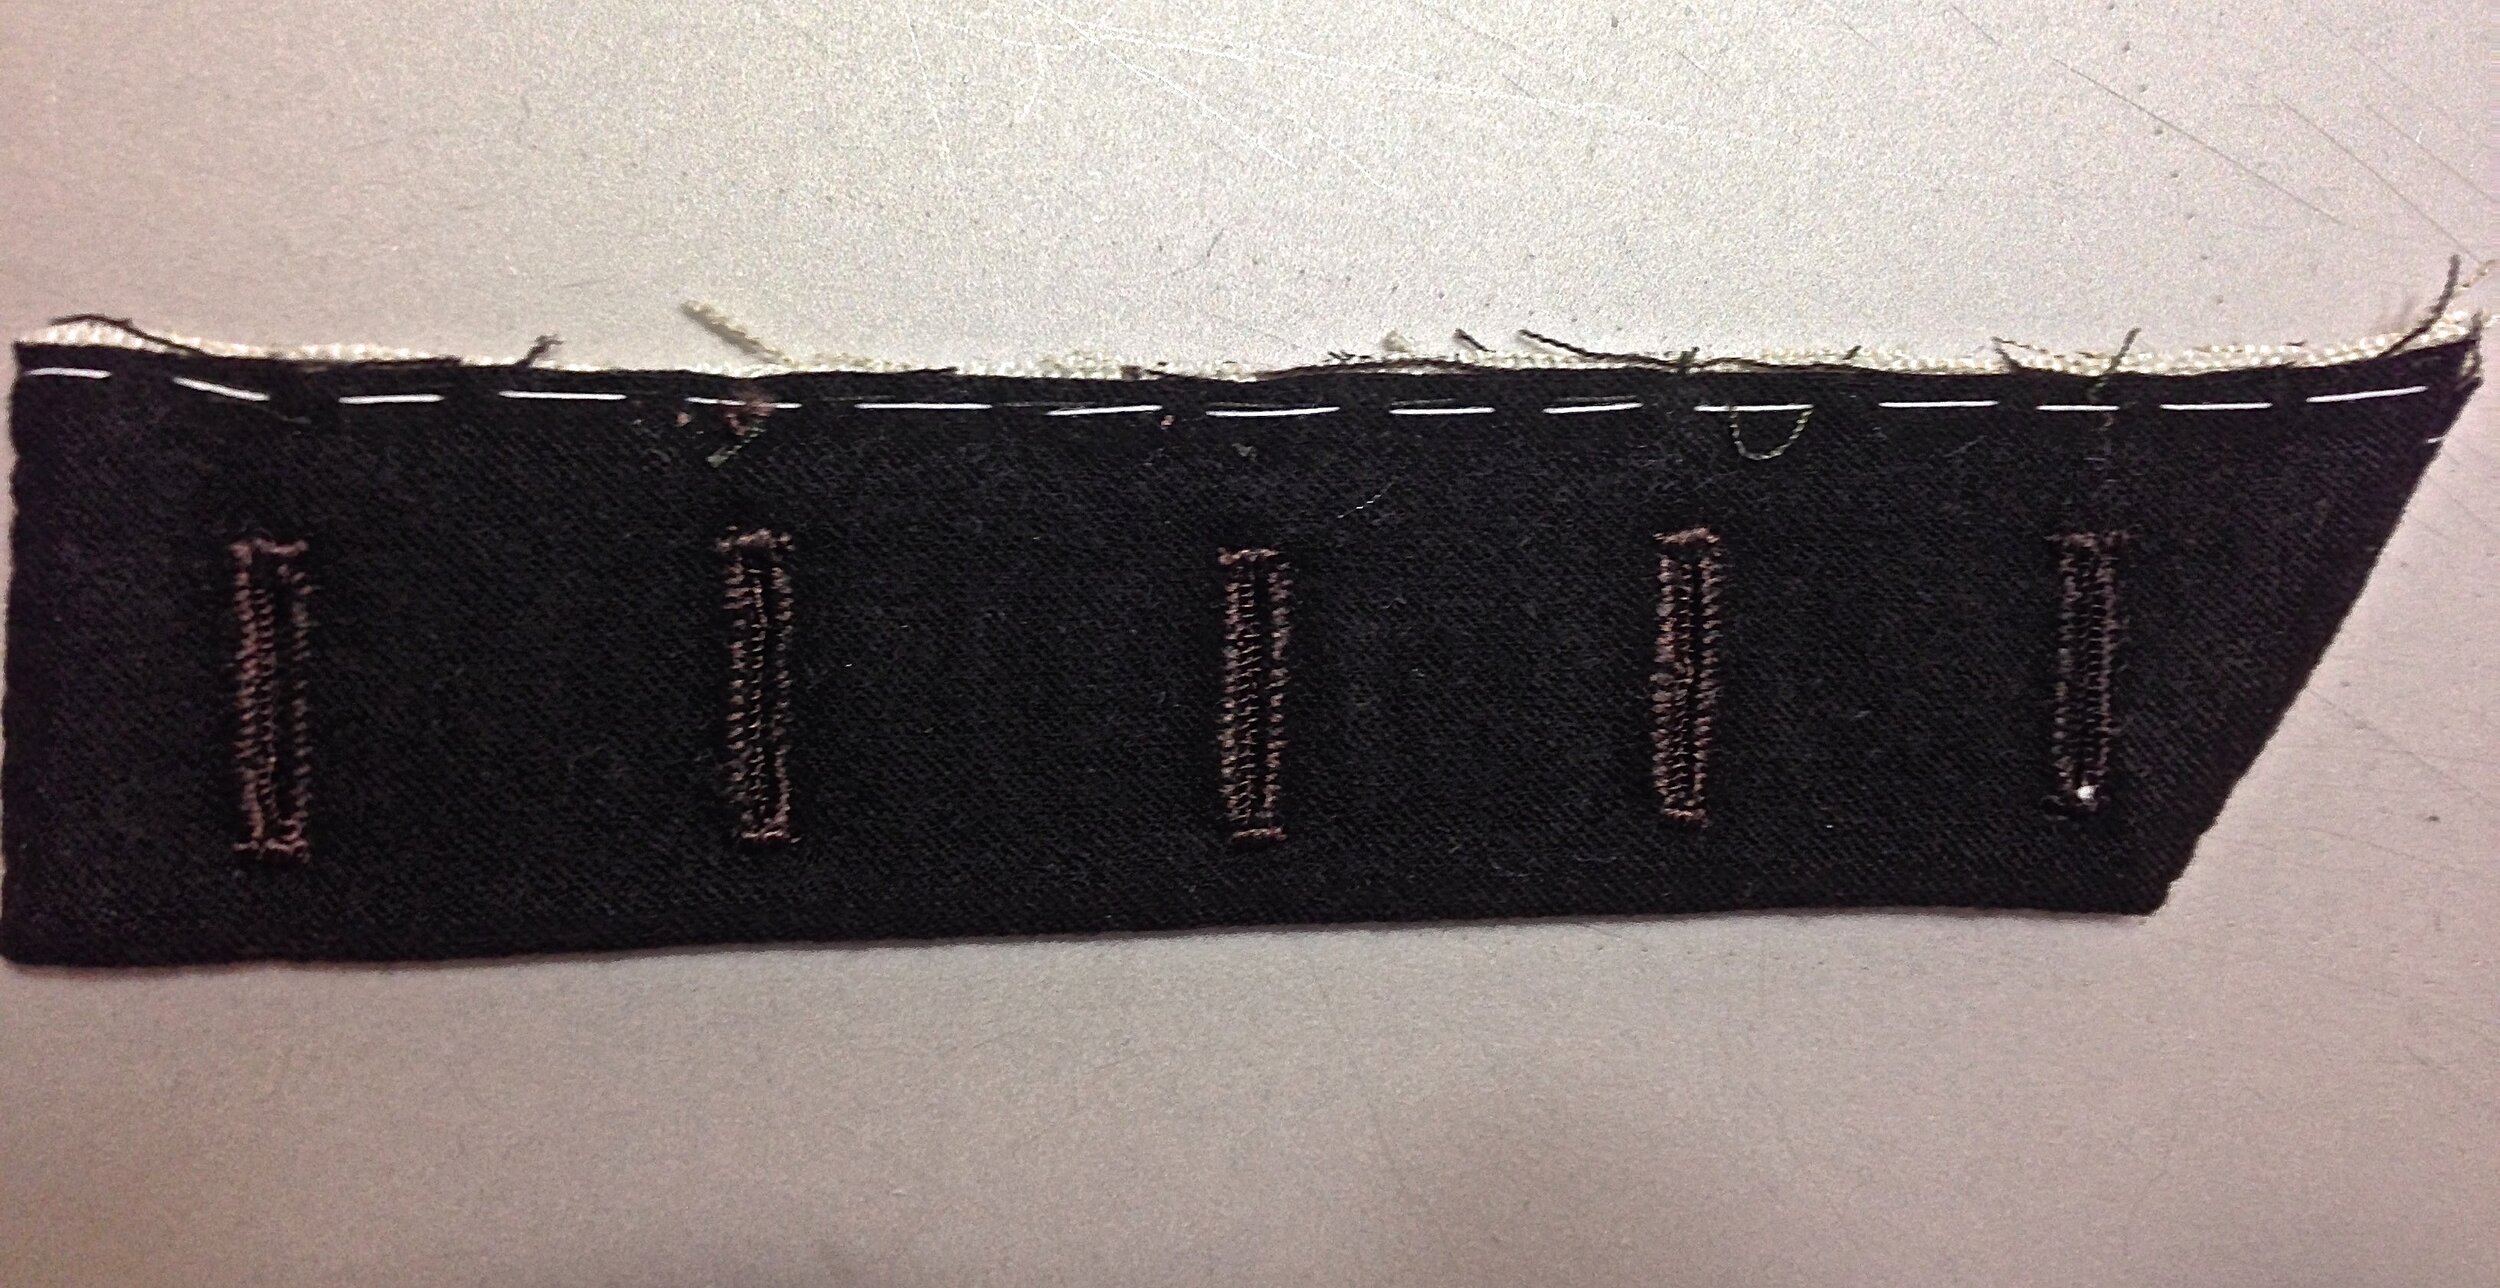
Next, we use pad stitching to shape the pad. Beginning at the top, stitches should be close together and tight. We are aiming to flatten the area quite a bit.

The second line of pad stitches should be larger and looser to allow the pad to begin taking on a teardrop cross section.

The third line of stitching should be even larger and looser than the second. Again, the goal is to secure the wadding to prevent it from shifting but also to create the teardrop cross section which will give the breeches the classic rounded shape at the top
Beginning about 6" (15.2cm) from the fronts, line up and stitch the pad into the lining with the single layer pleating onto the waist seam.
Secure with a back stitch. This stitch need not be small and perfect, but strong and fast. It does not need to go through all layers.


The completed pad, in place.
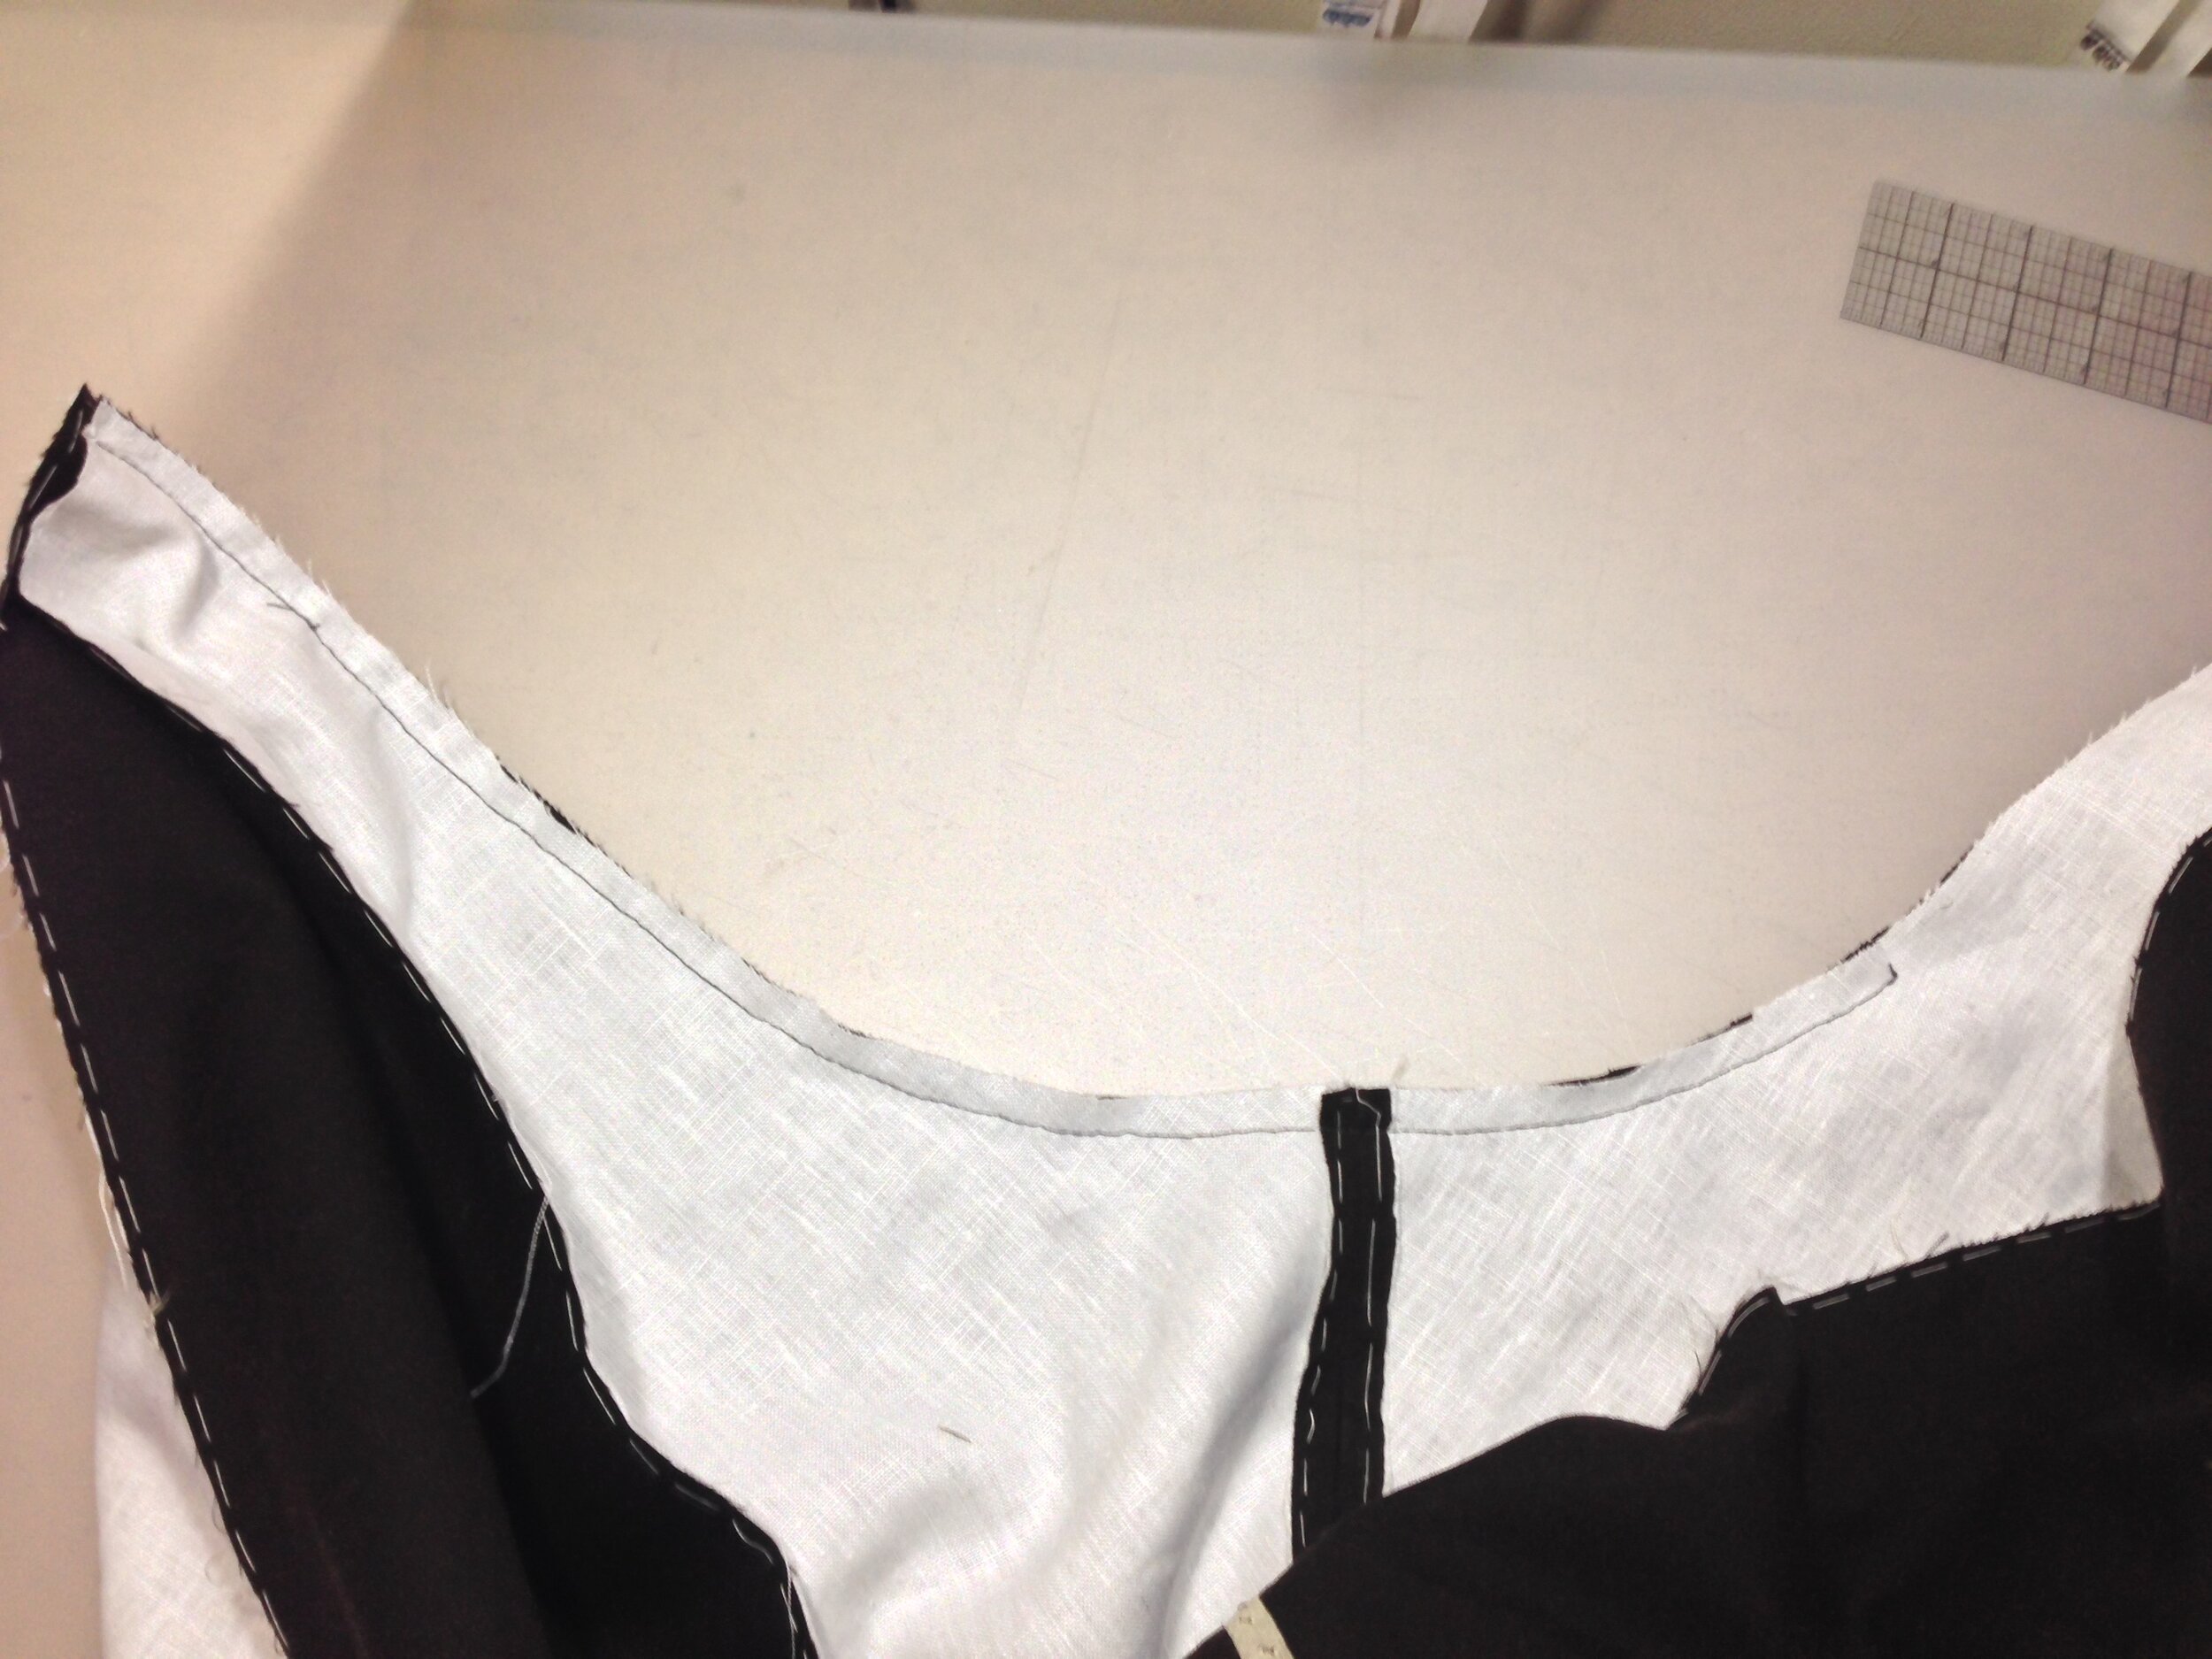
Begin making the lining. Sew center back and center front crotches with a back stitch. Make sure you've transferred the proper length of the crotch seam from the exterior. By matching the crotch from fork to bottom of front opening, you ensure that your lining and exterior will line up correctly.

Make the fly. Interline and press in half, tucking up one of the corners with pressing to create this shape.

Sew the bottom closed
Mark and make the buttonholes in the fly


Place the raw edges of the fly under the left front of the opening. The pointed end of the fly should be pointing down toward the crotch. Pick stitch in place from the outside. Make sure to penetrate all layers.

Place the lining into the shell and use knife pleats to pin the fullness to the very top of the waistband. The lining extends past the waist seam and continues to the top. Do not sew the lining to the waist seam.

Use a running stitch to secure the lining in place about 1/8" (4mm) from the cut edge. This edge will have a bound finish so there shouldn't be stitches showing when it is complete.

Hem the lining in place at the center fronts


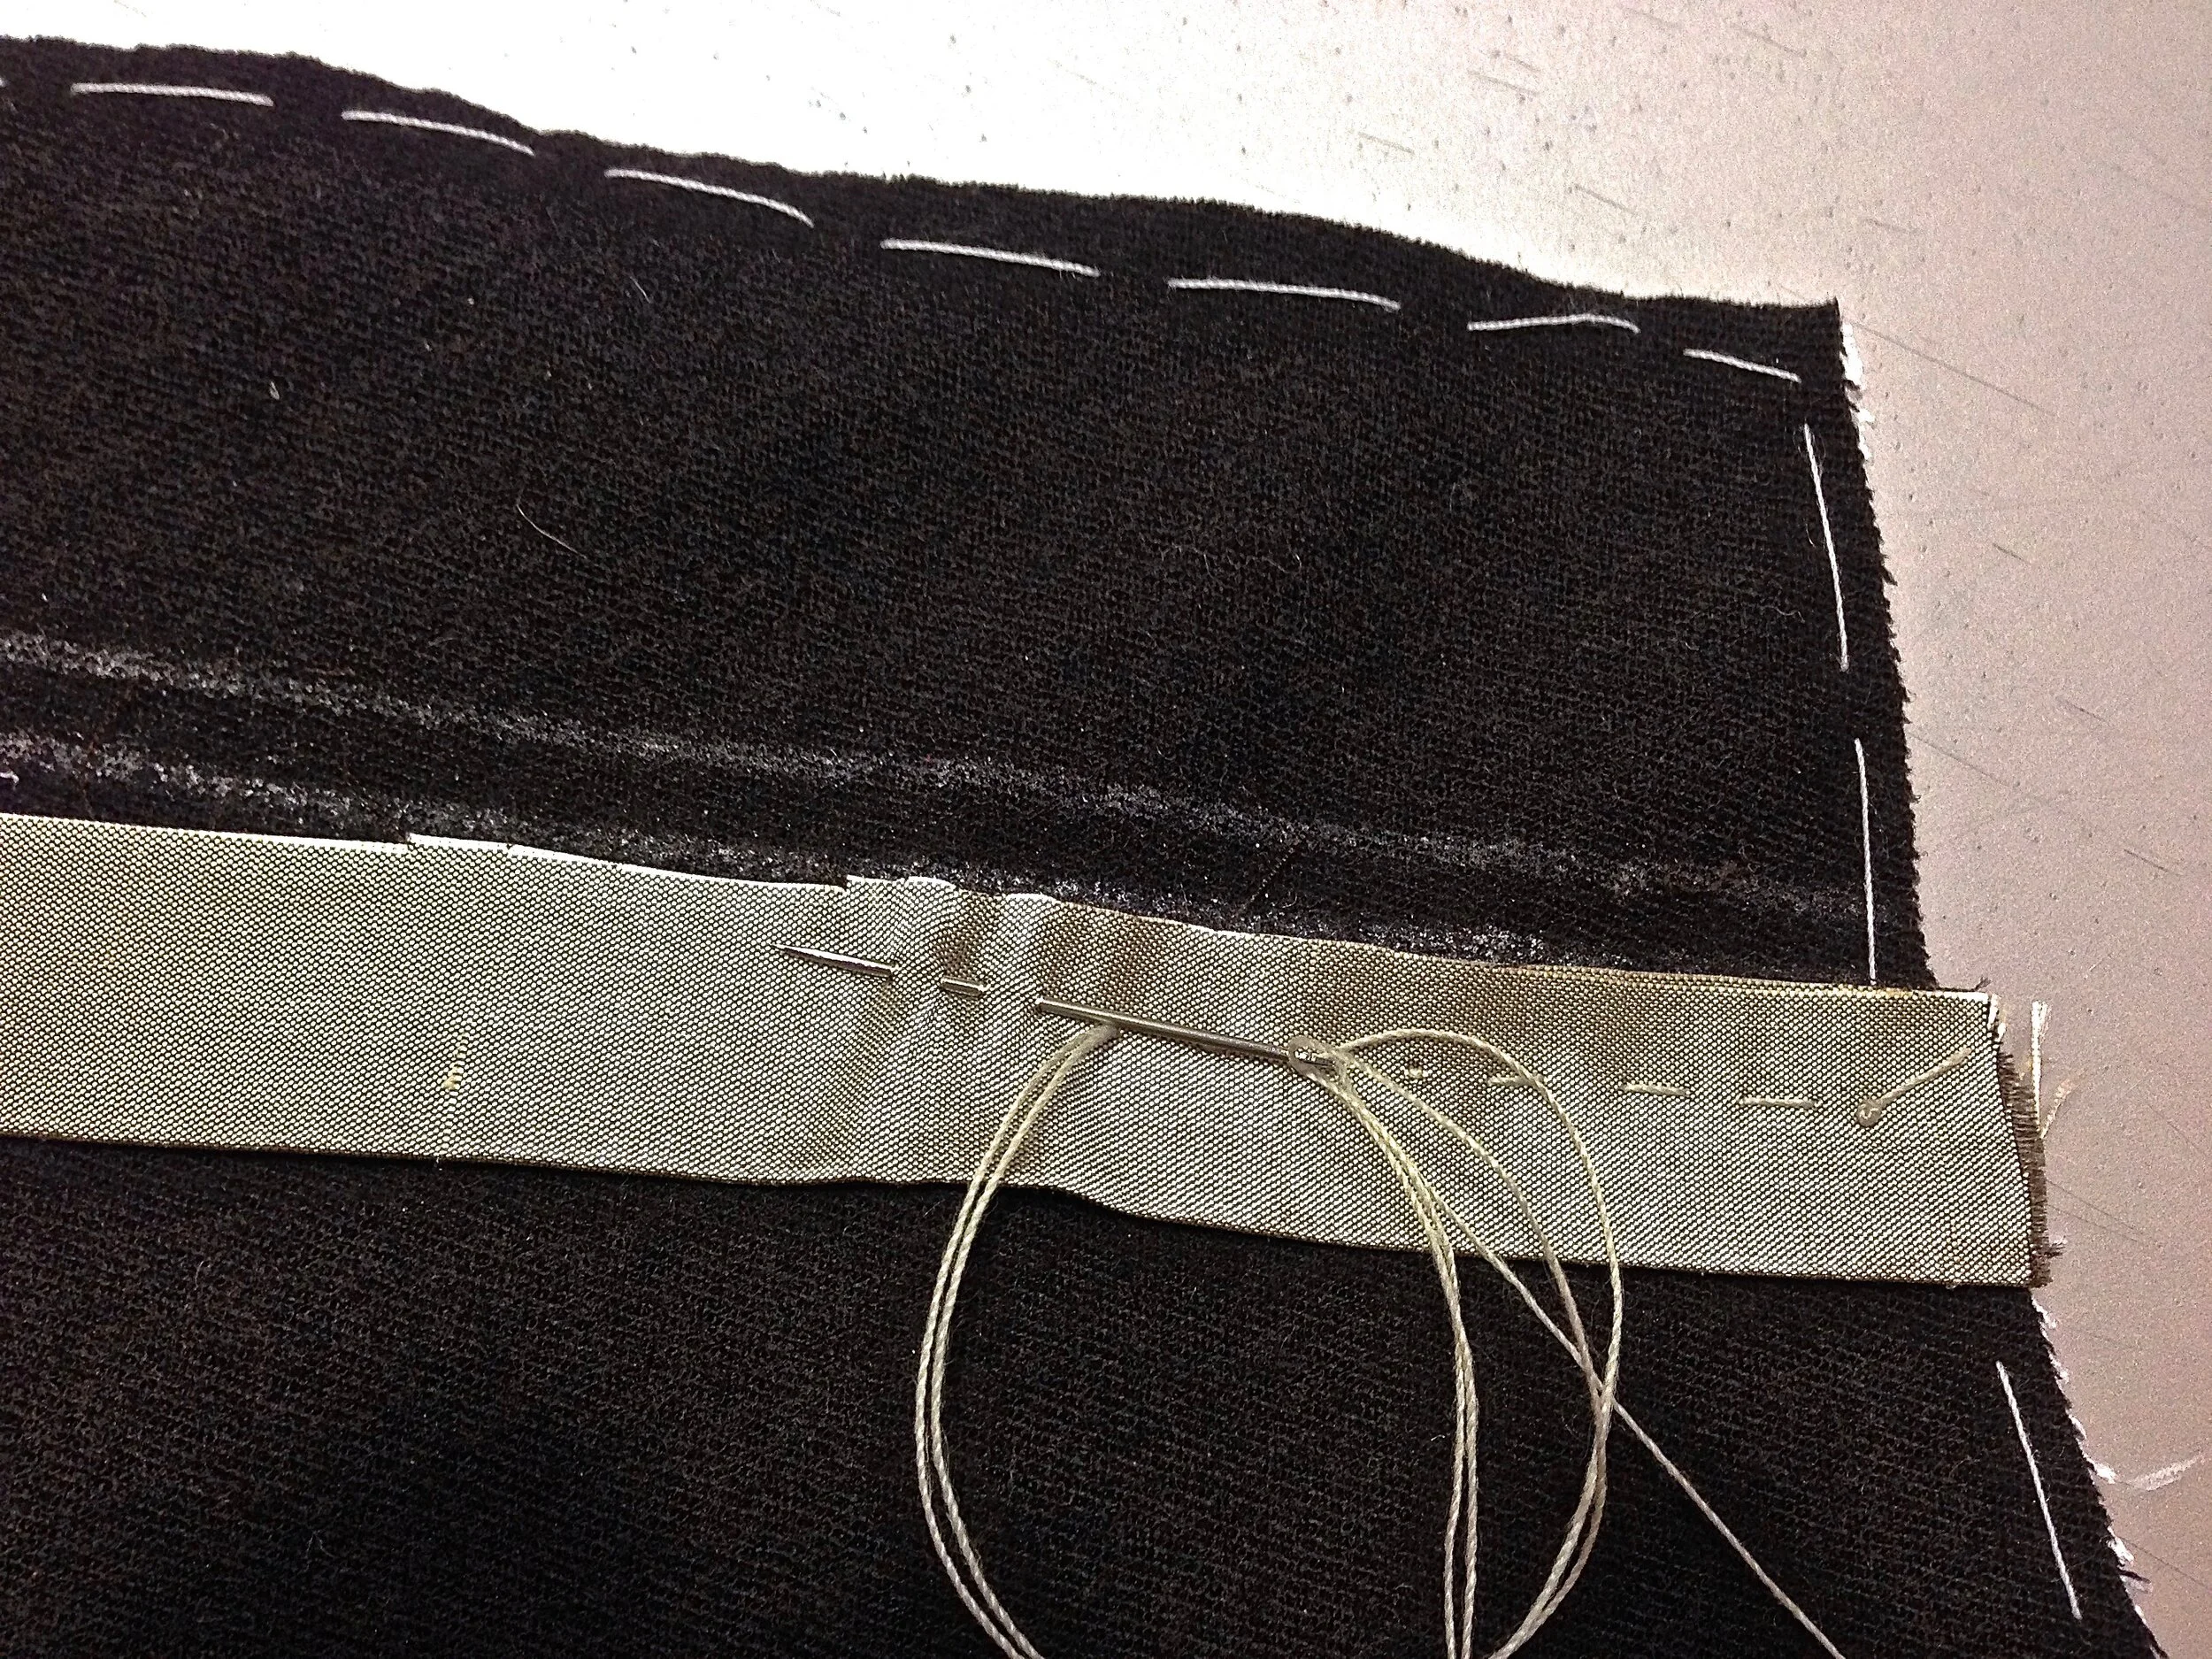
Prepare a binding strip by cutting either on the cross grain or bias grain, a strip that is about 2.5" (6.5cm) wide. Press in half down its length

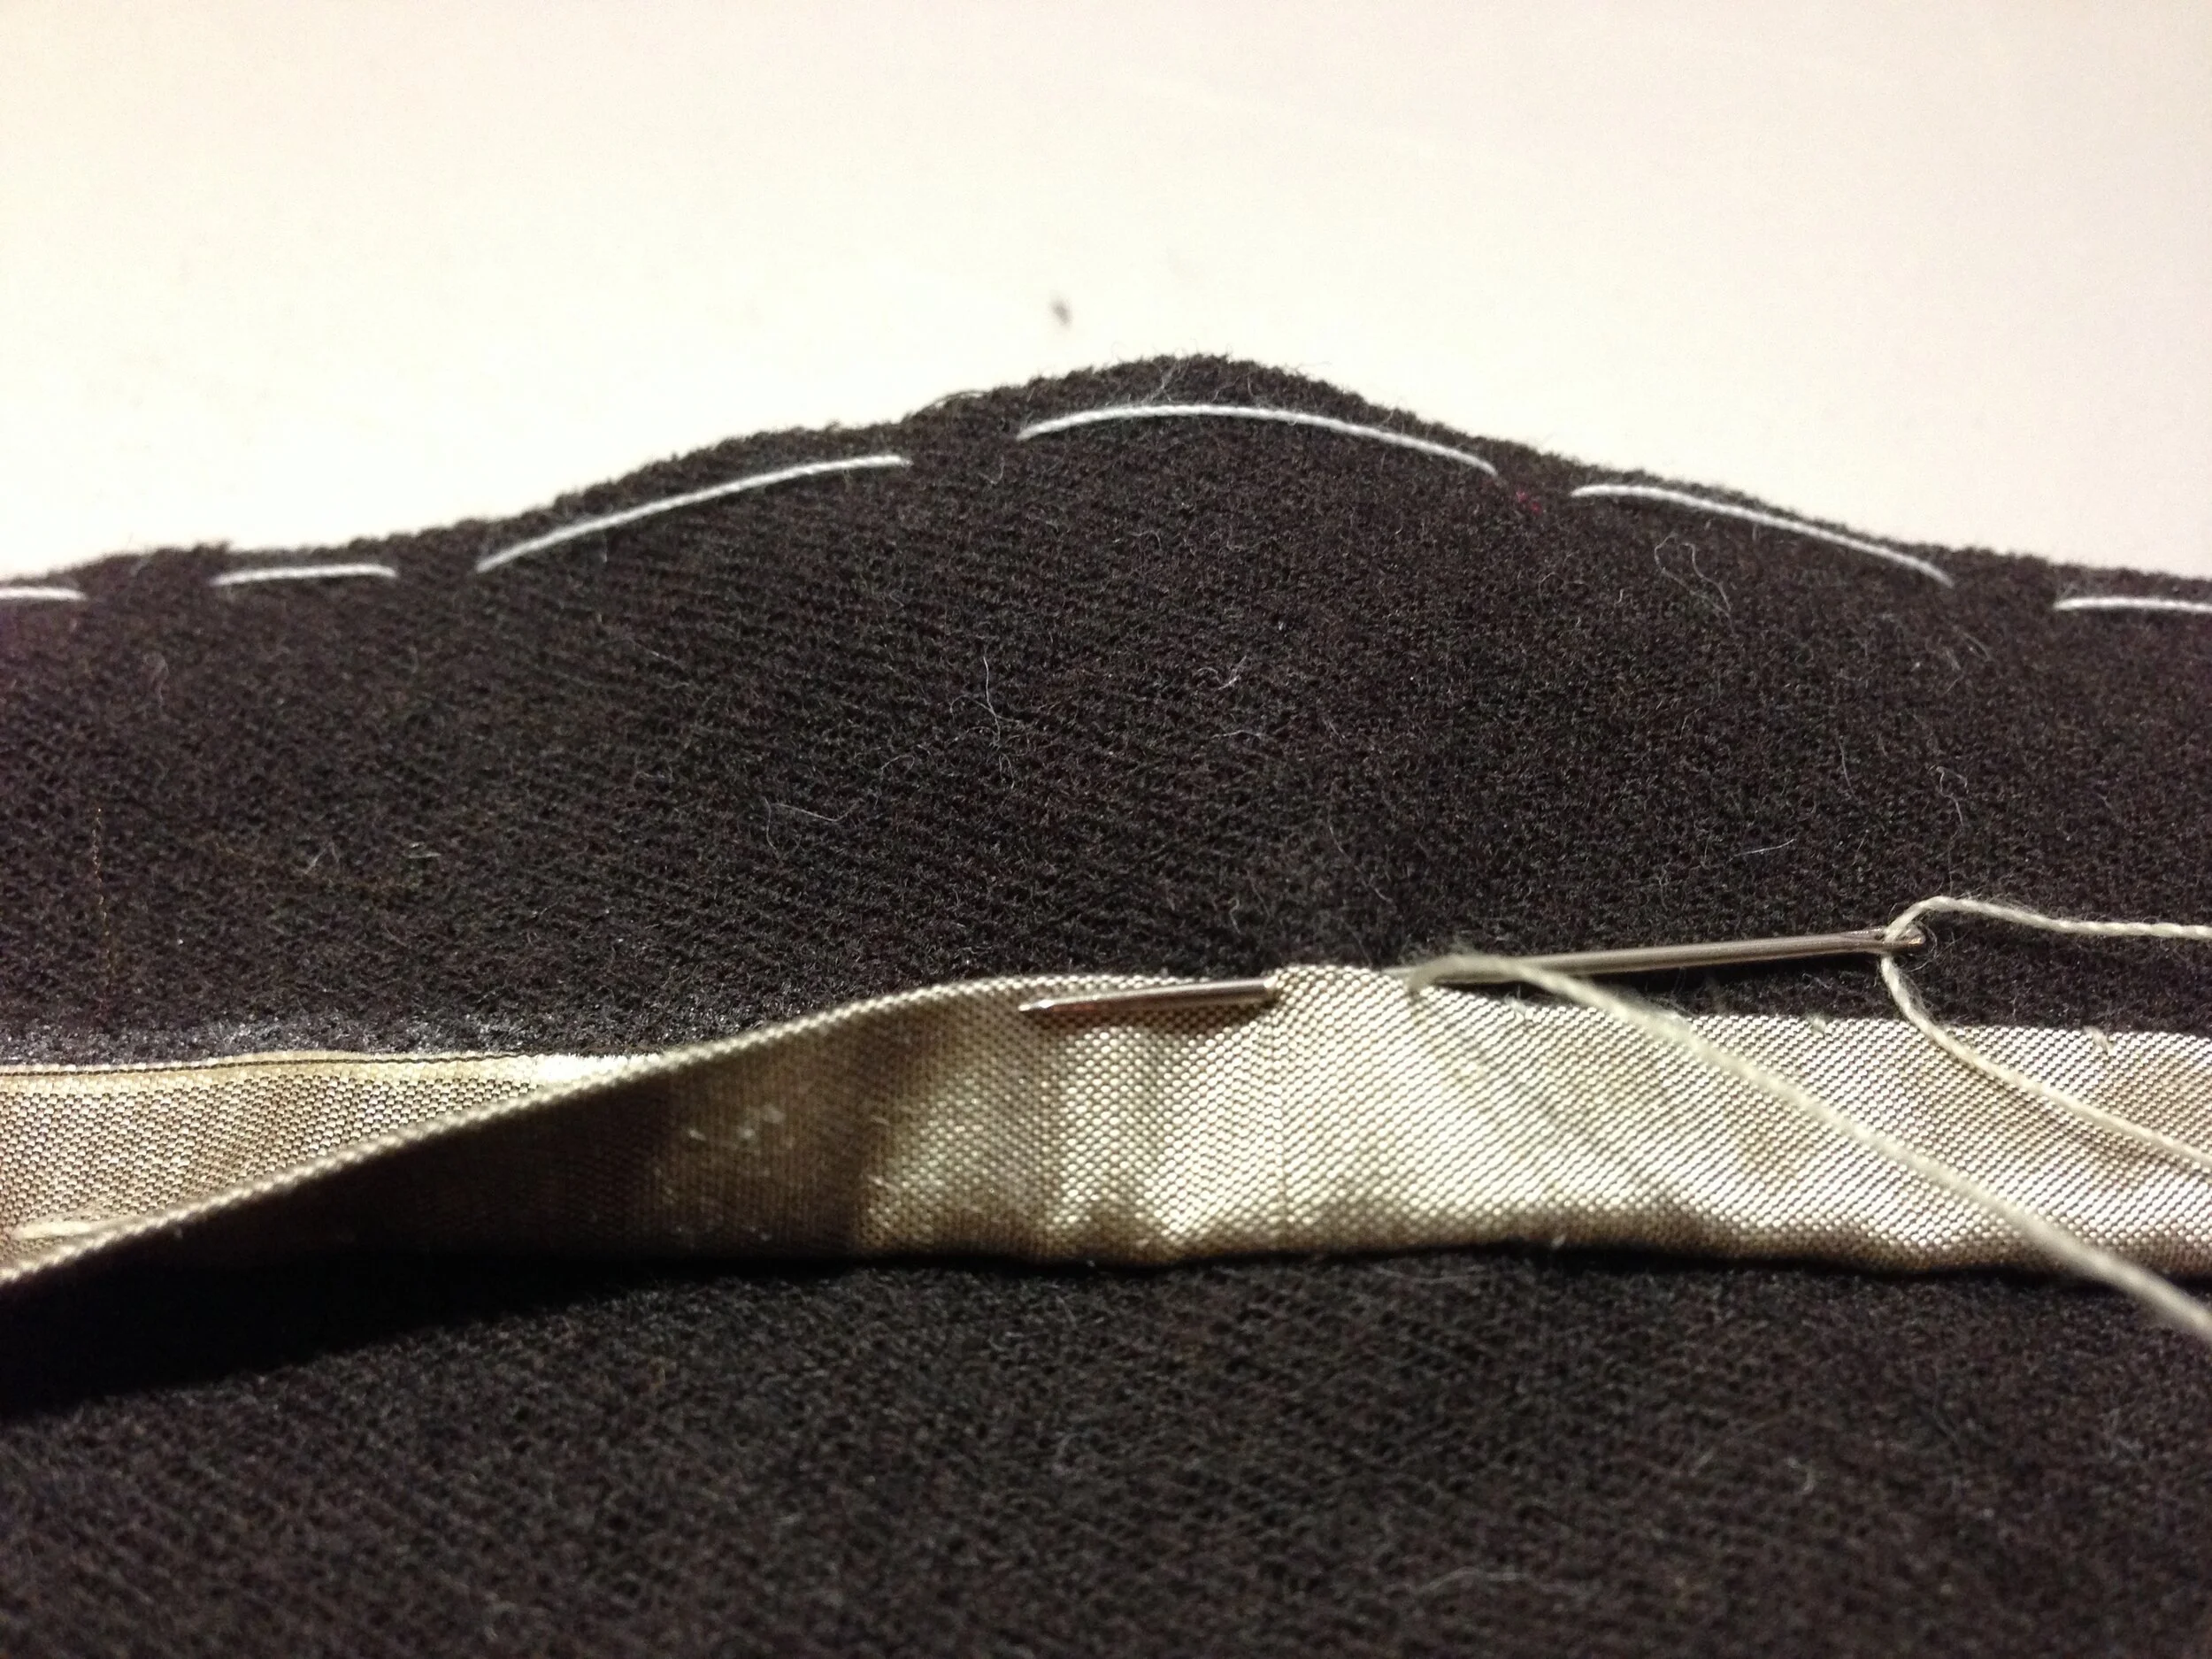
With the outside of the breeches facing you, stitch the first pass of the binding with a running stitch.

Turn the folded edge of the strip to the inside and hem in place using a felling stitch or a whip stitch. Slip stitch is not recommeded as it is too weak for this high friction area of the garment.

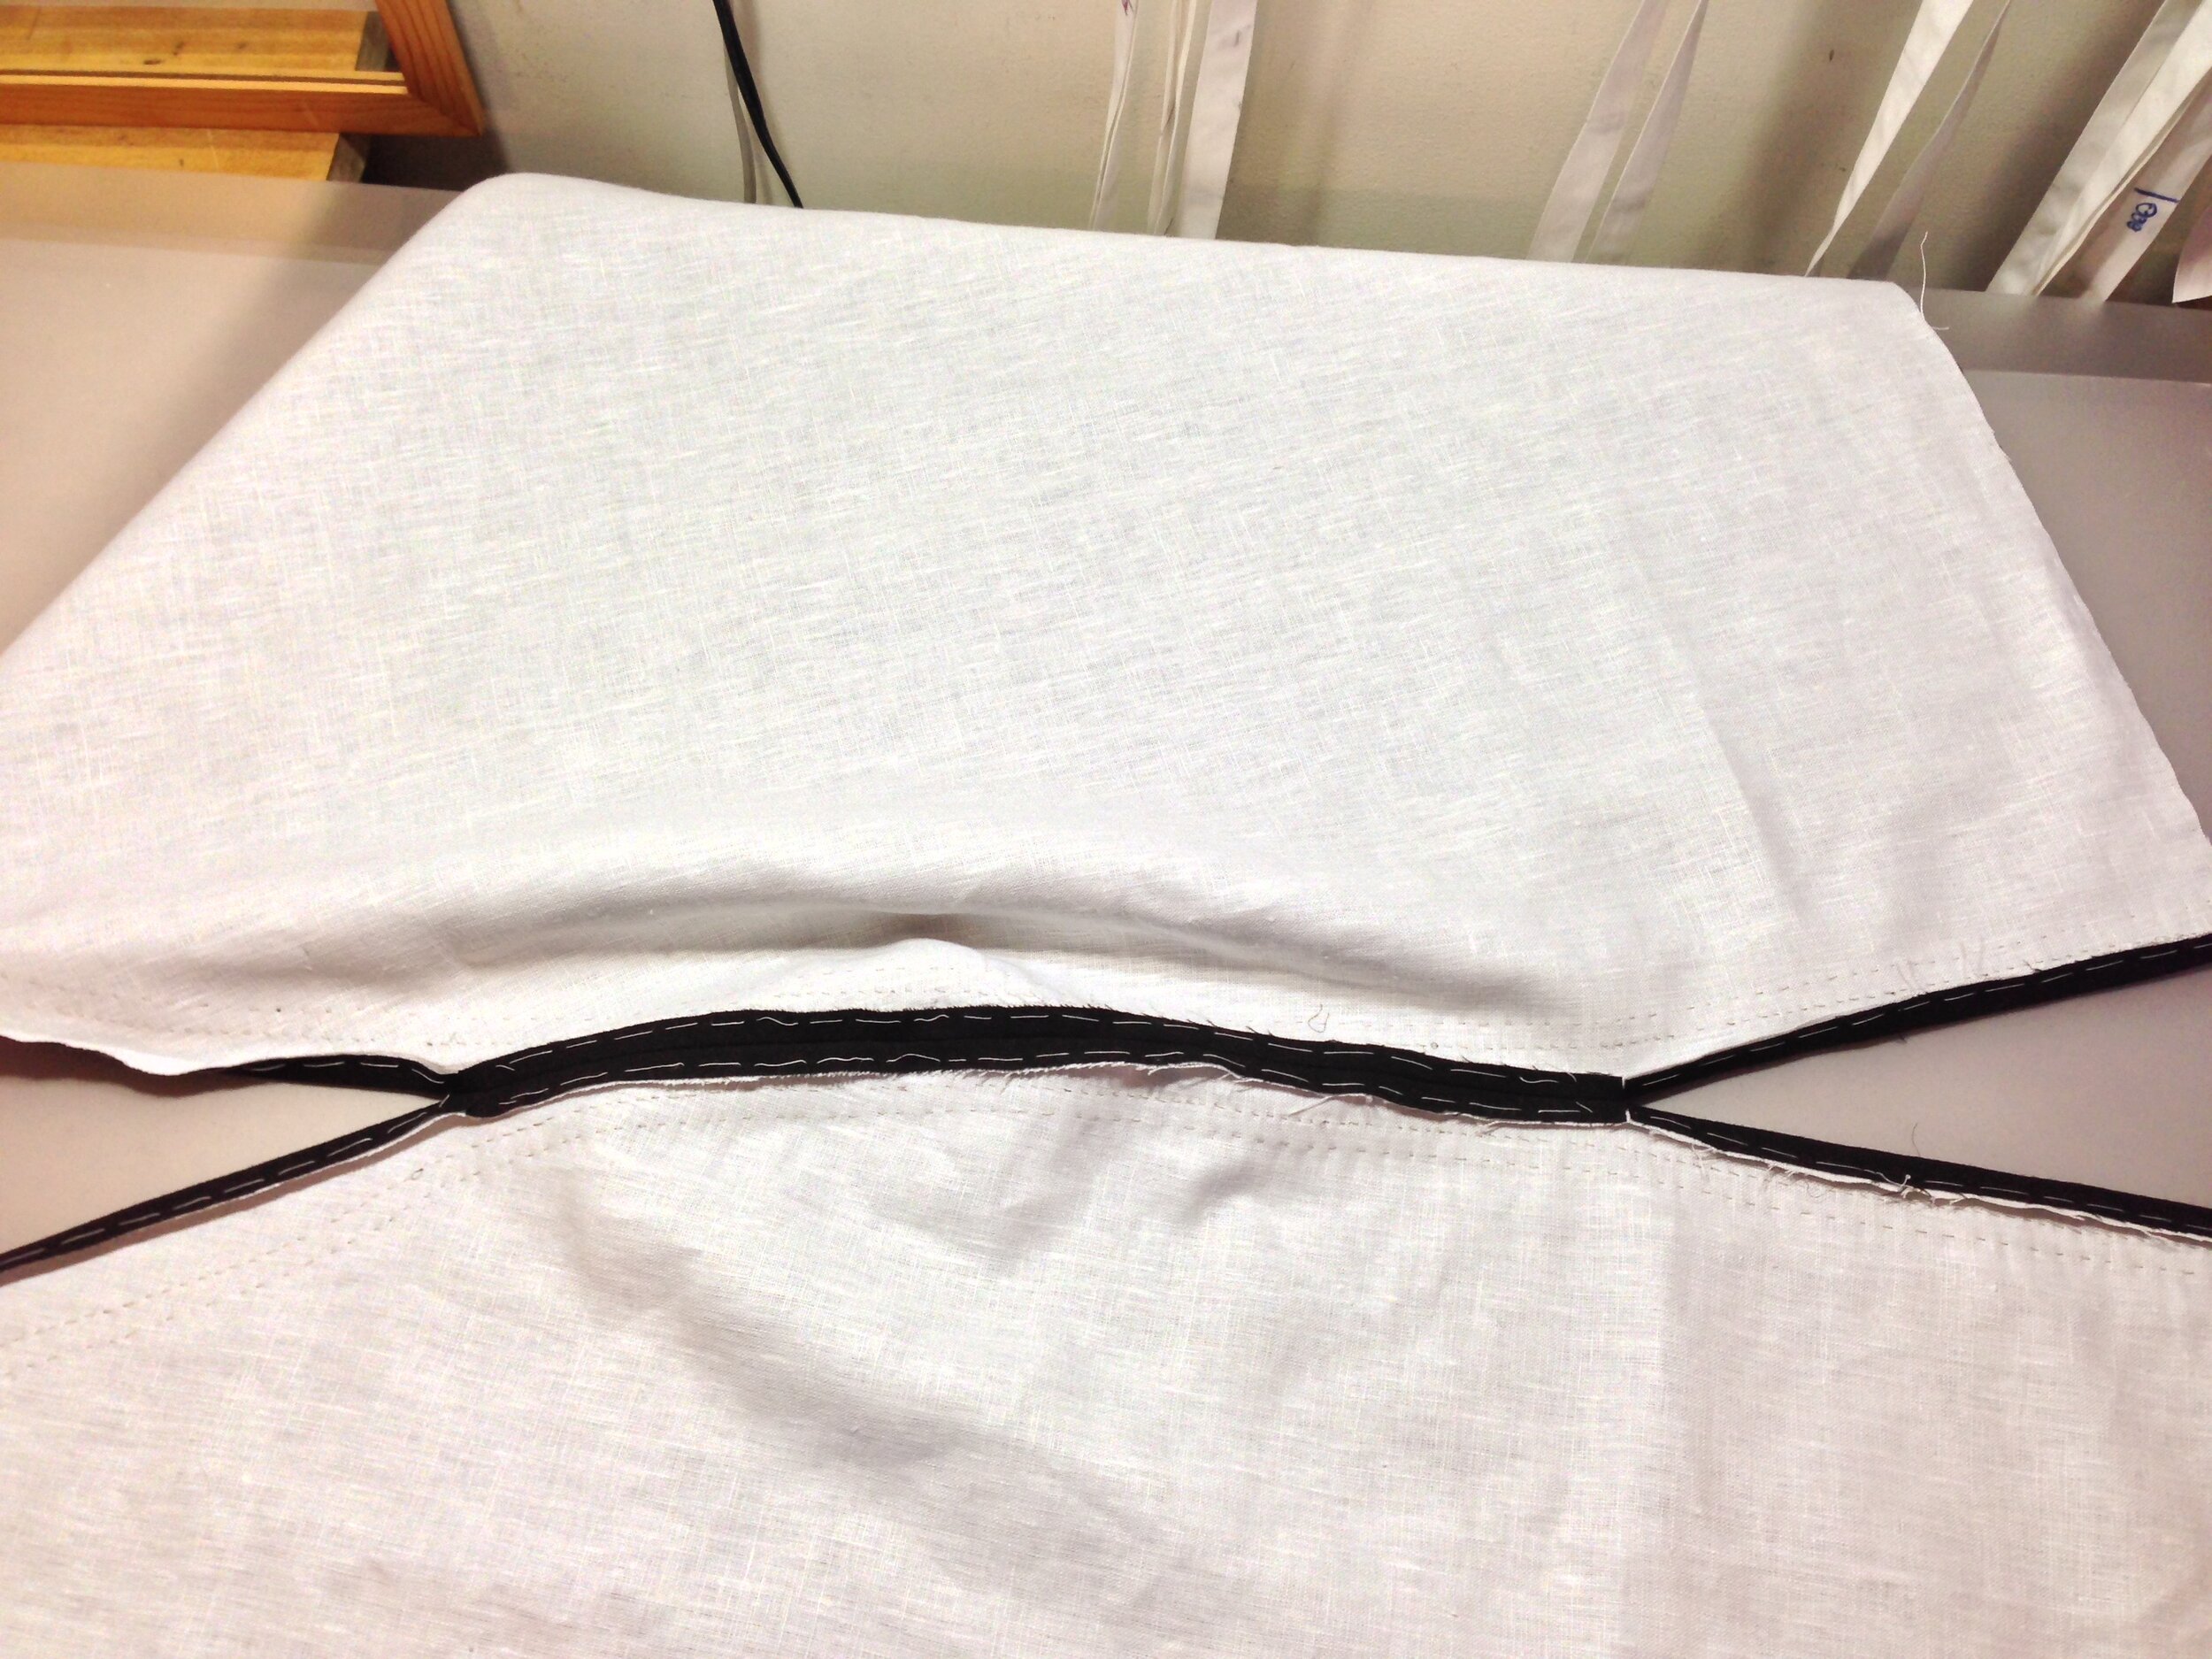
The completed binding.


This photo shows how the large inverted pleats at center front will hide the fly when the garment is worn

Attach the lining at the leg openings and bind them in the same manner as the waist.

You may remove the basting on the pocket at this time.

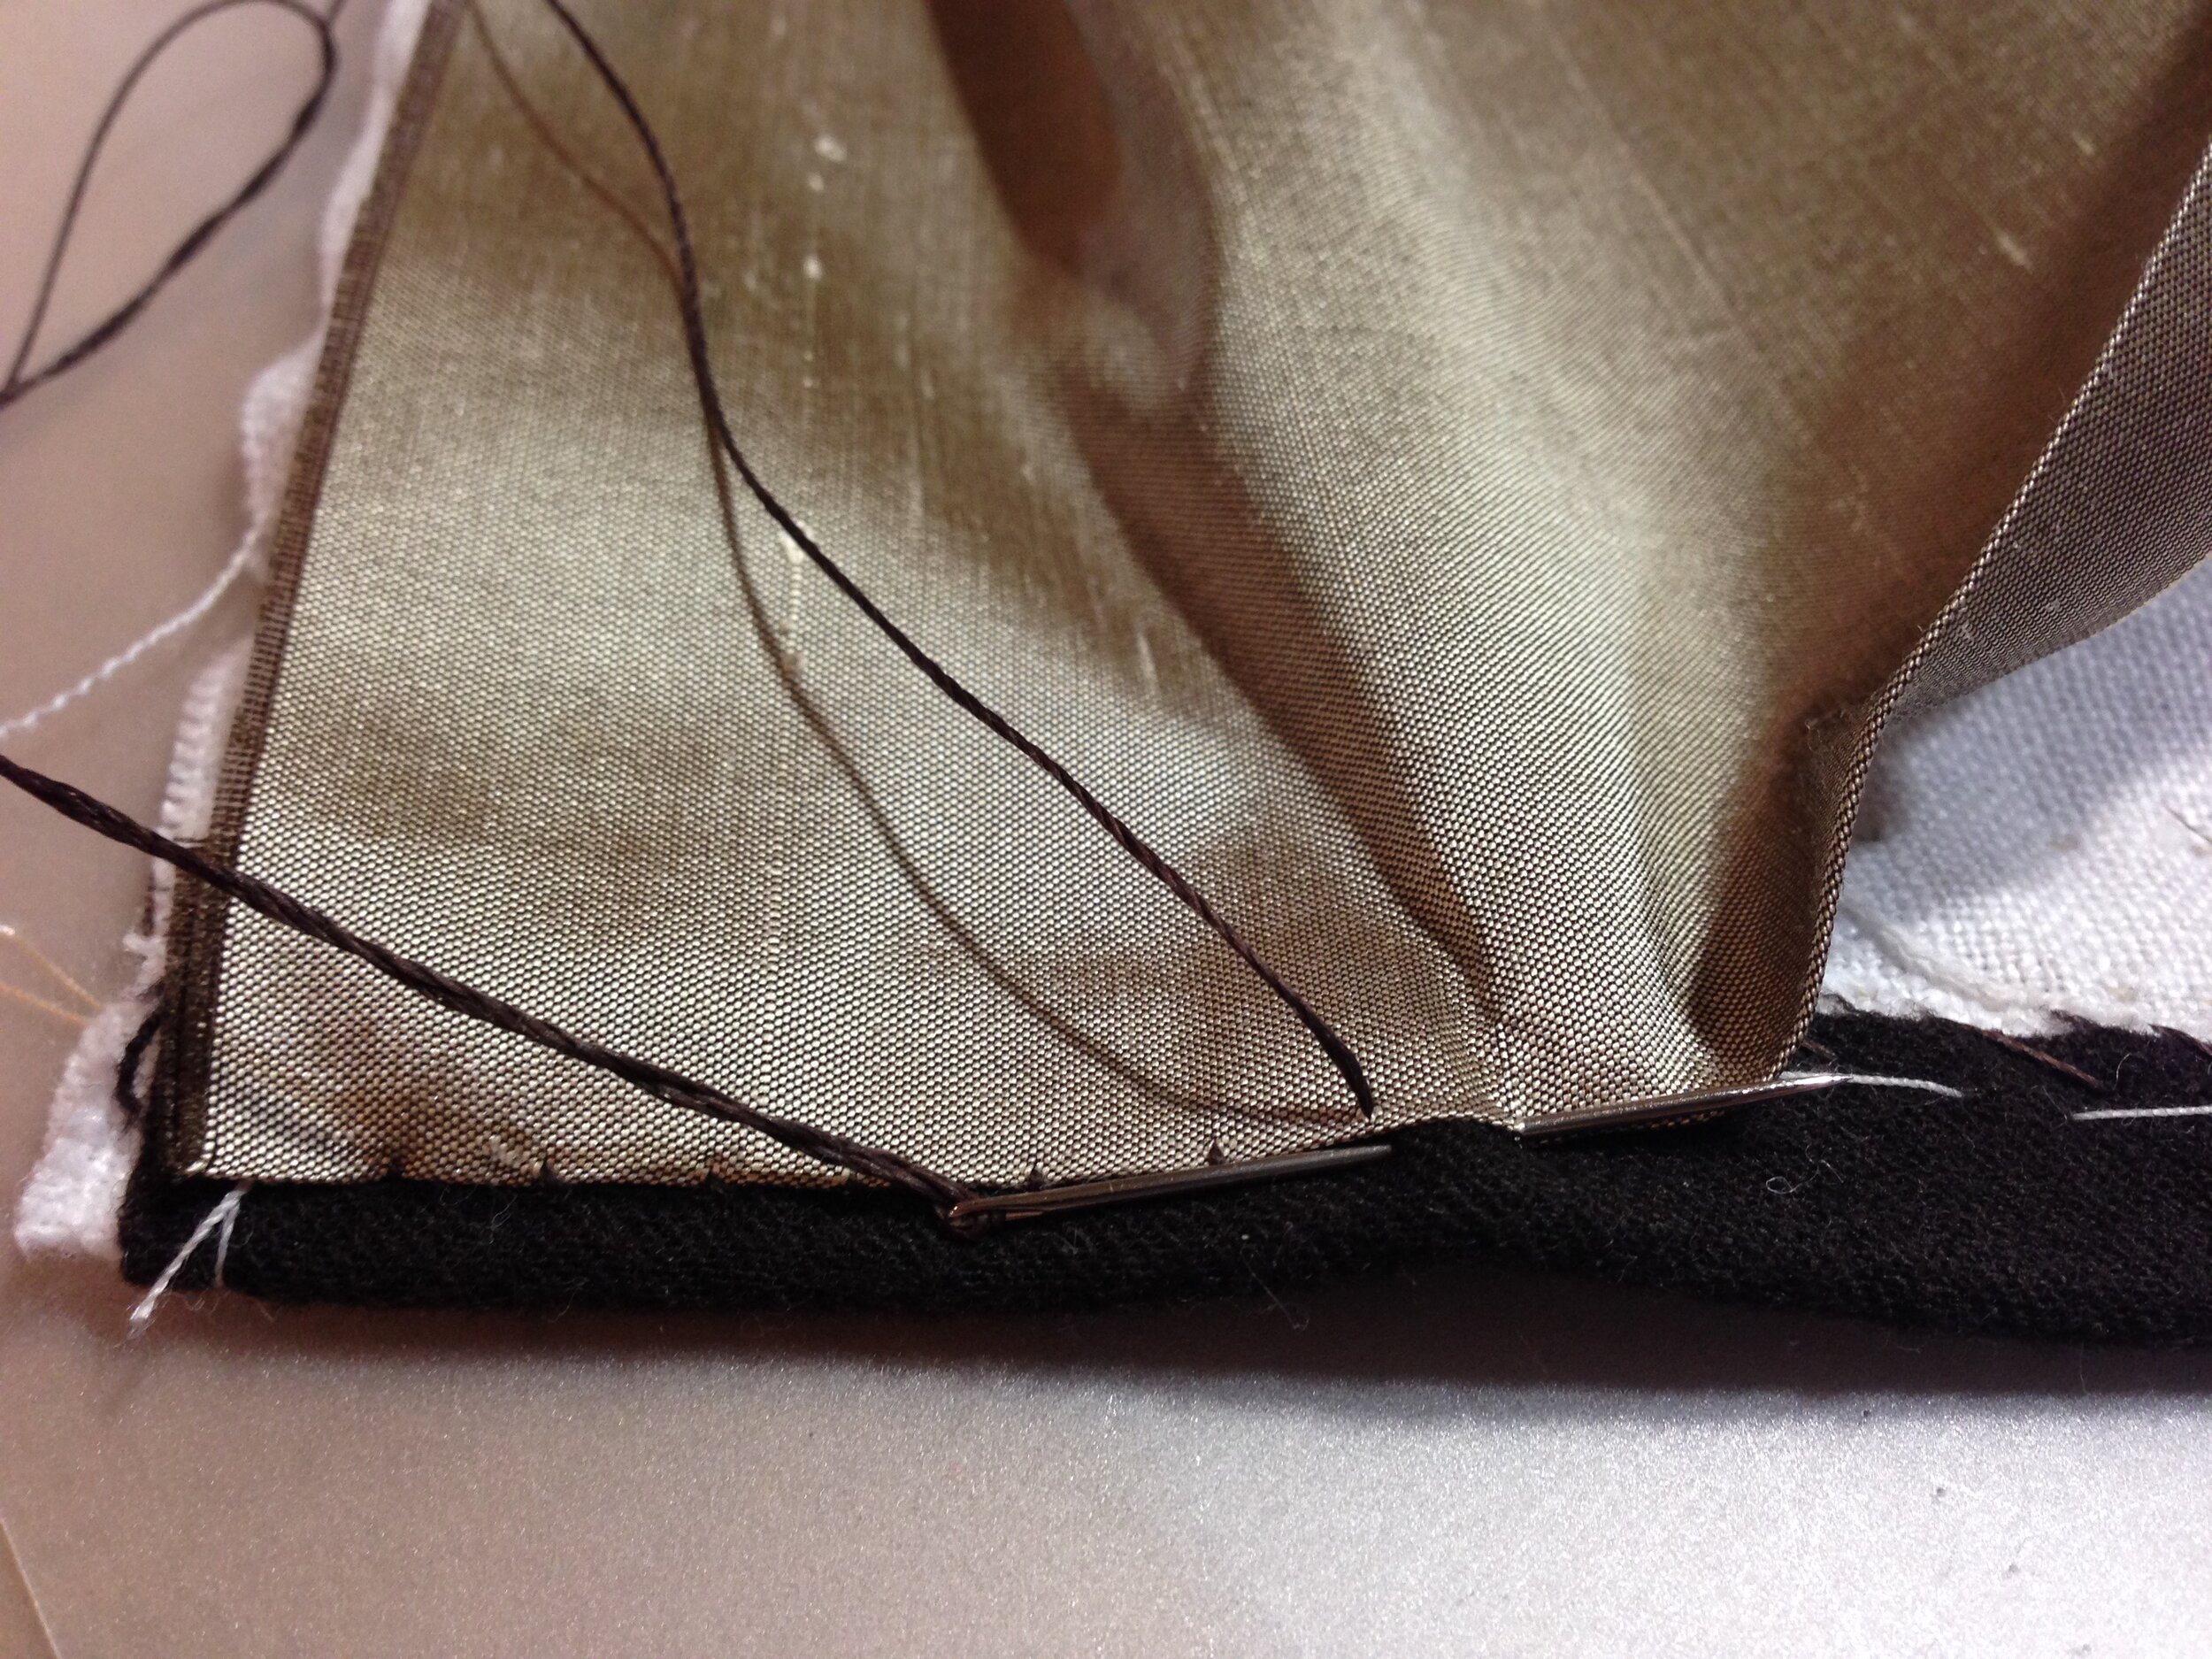
At the leg opening, use a stiletto to stretch open holes, through which a cord may be puled for the button loops at the leg.


Stitch the cord securely on the inside of the breeches. This step may also be worked between the layers to hide the cord.

Five Strand, round, Finger-loop braid.

Us the stiletto to stretch open holes a the center front waist and stitch eyelets. These holes are for lacing the waist closed.

eyelets may be added at the waist for tying the breeches to a doublet. Alternatively, extant garments show that sometimes holes were stretched, but not sewn into eyelets. ties were simply pushed through the holes and tied to the doublet.
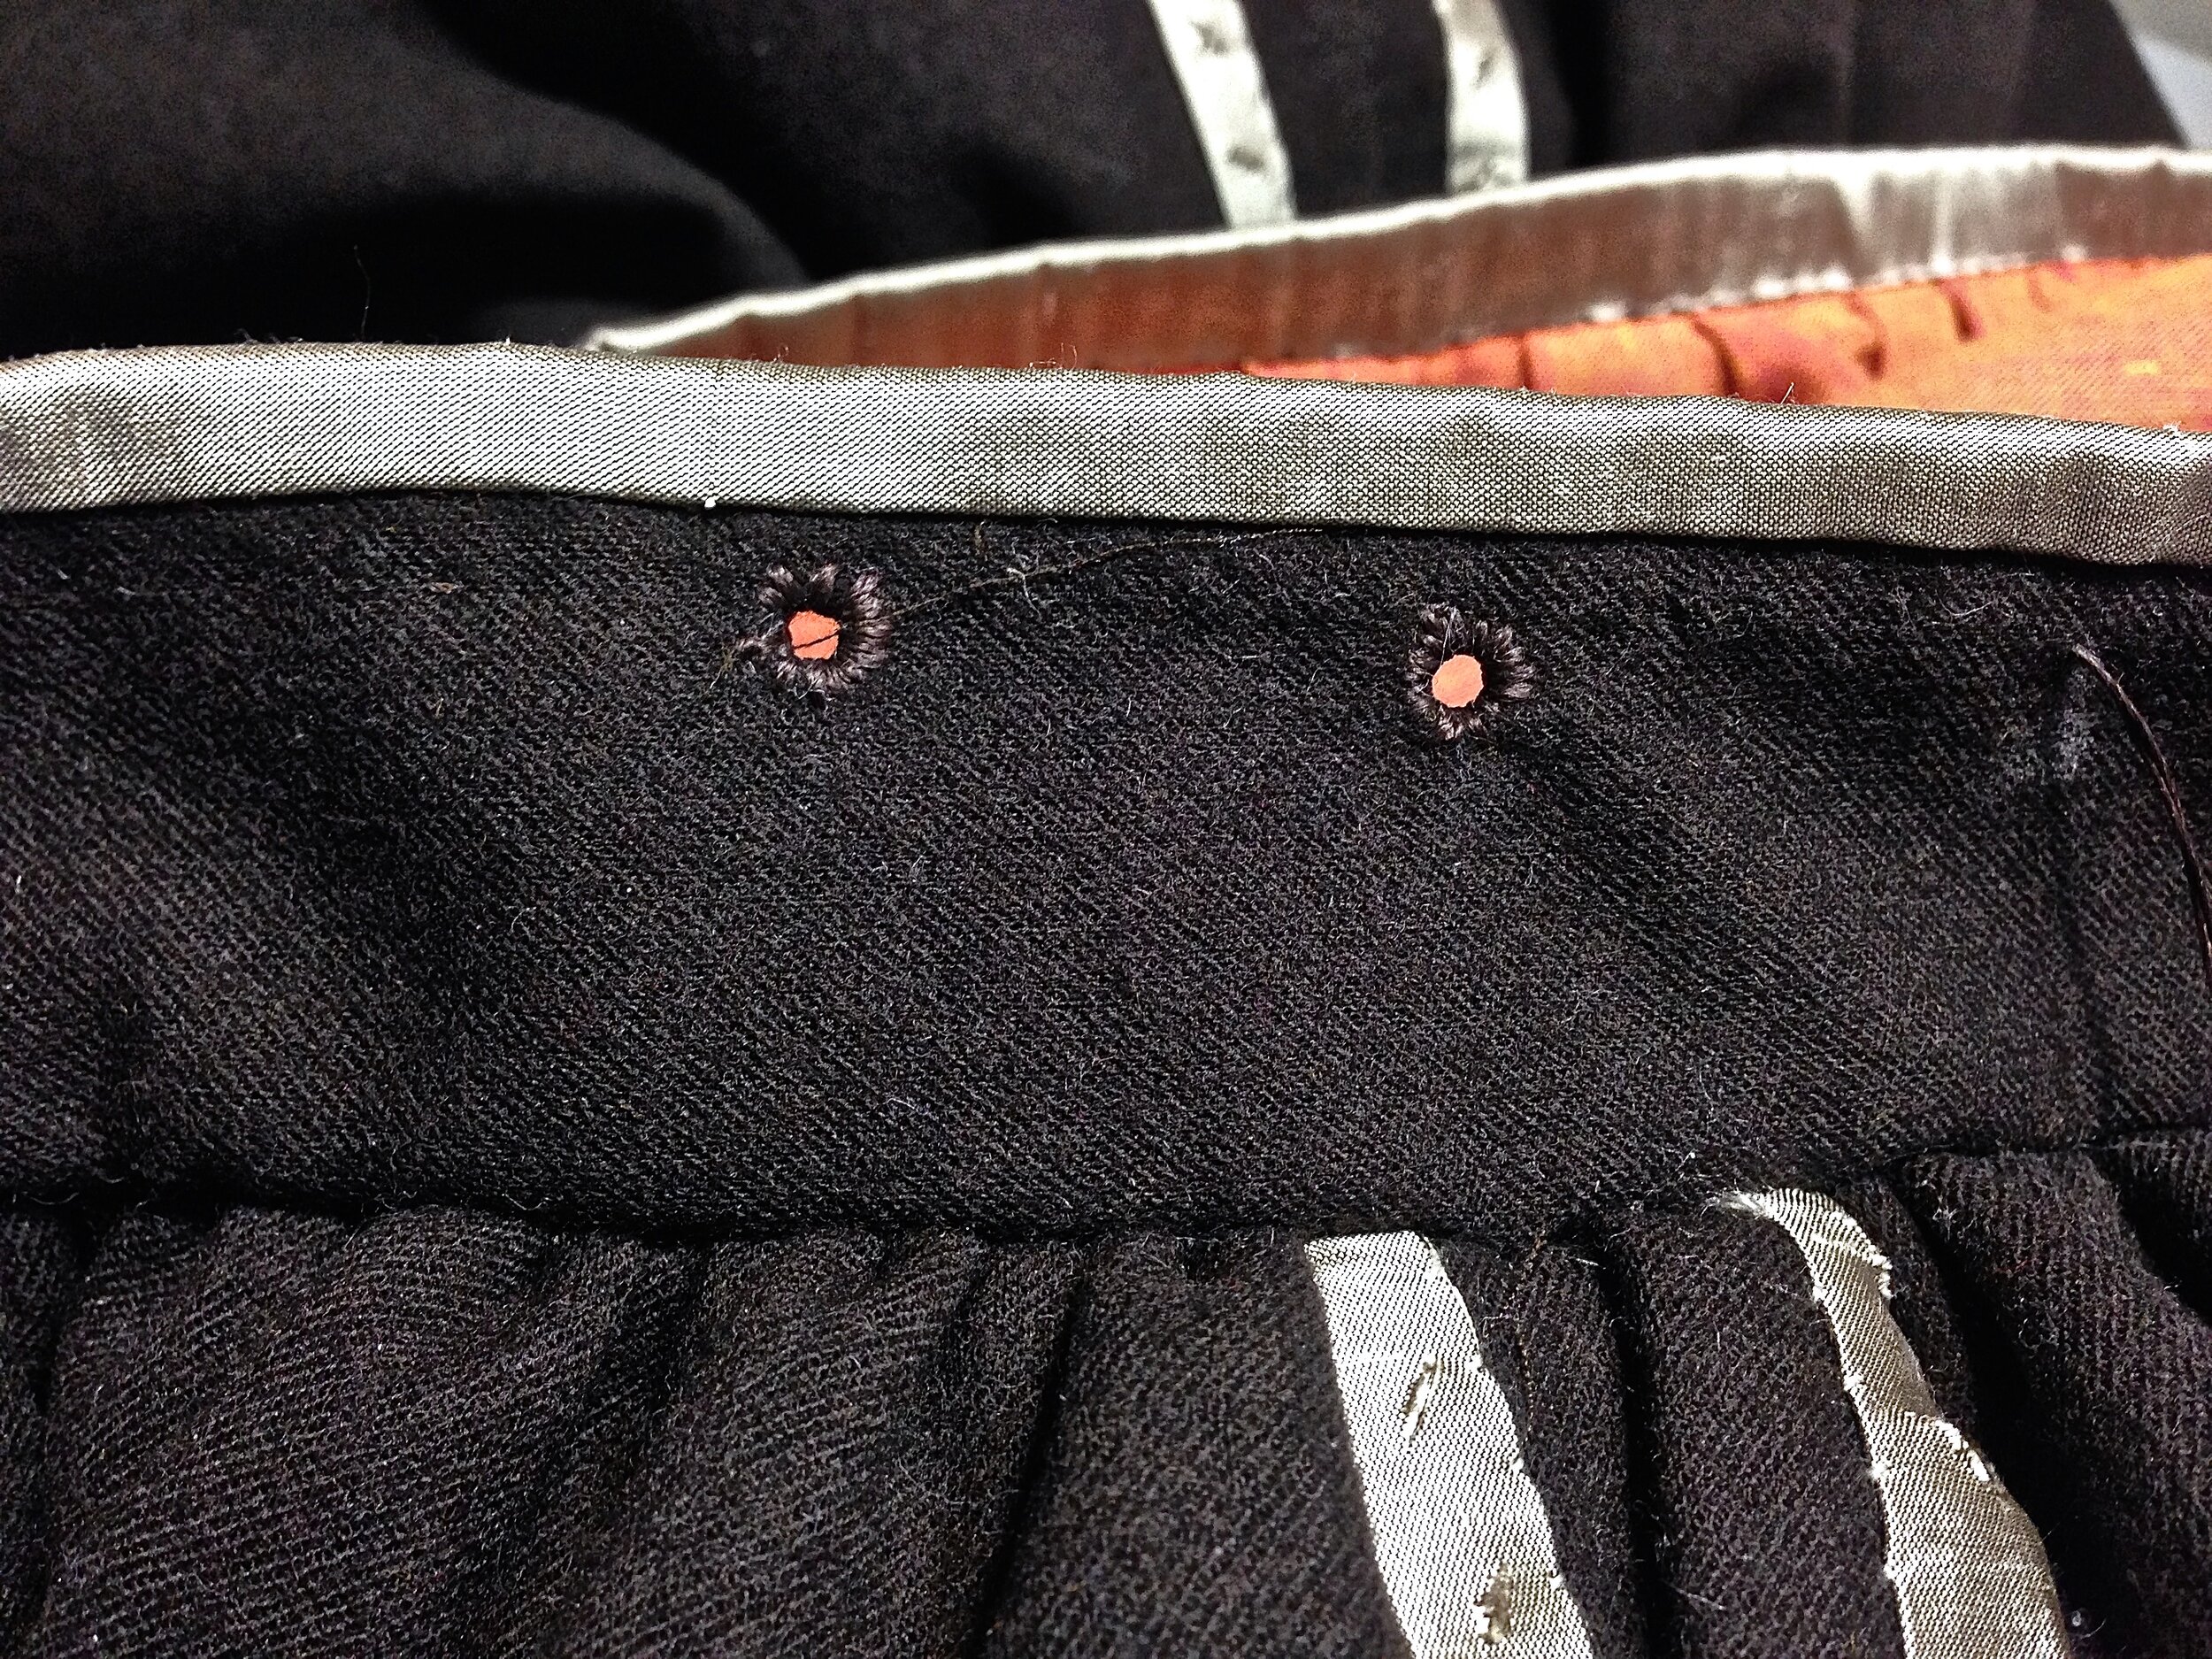
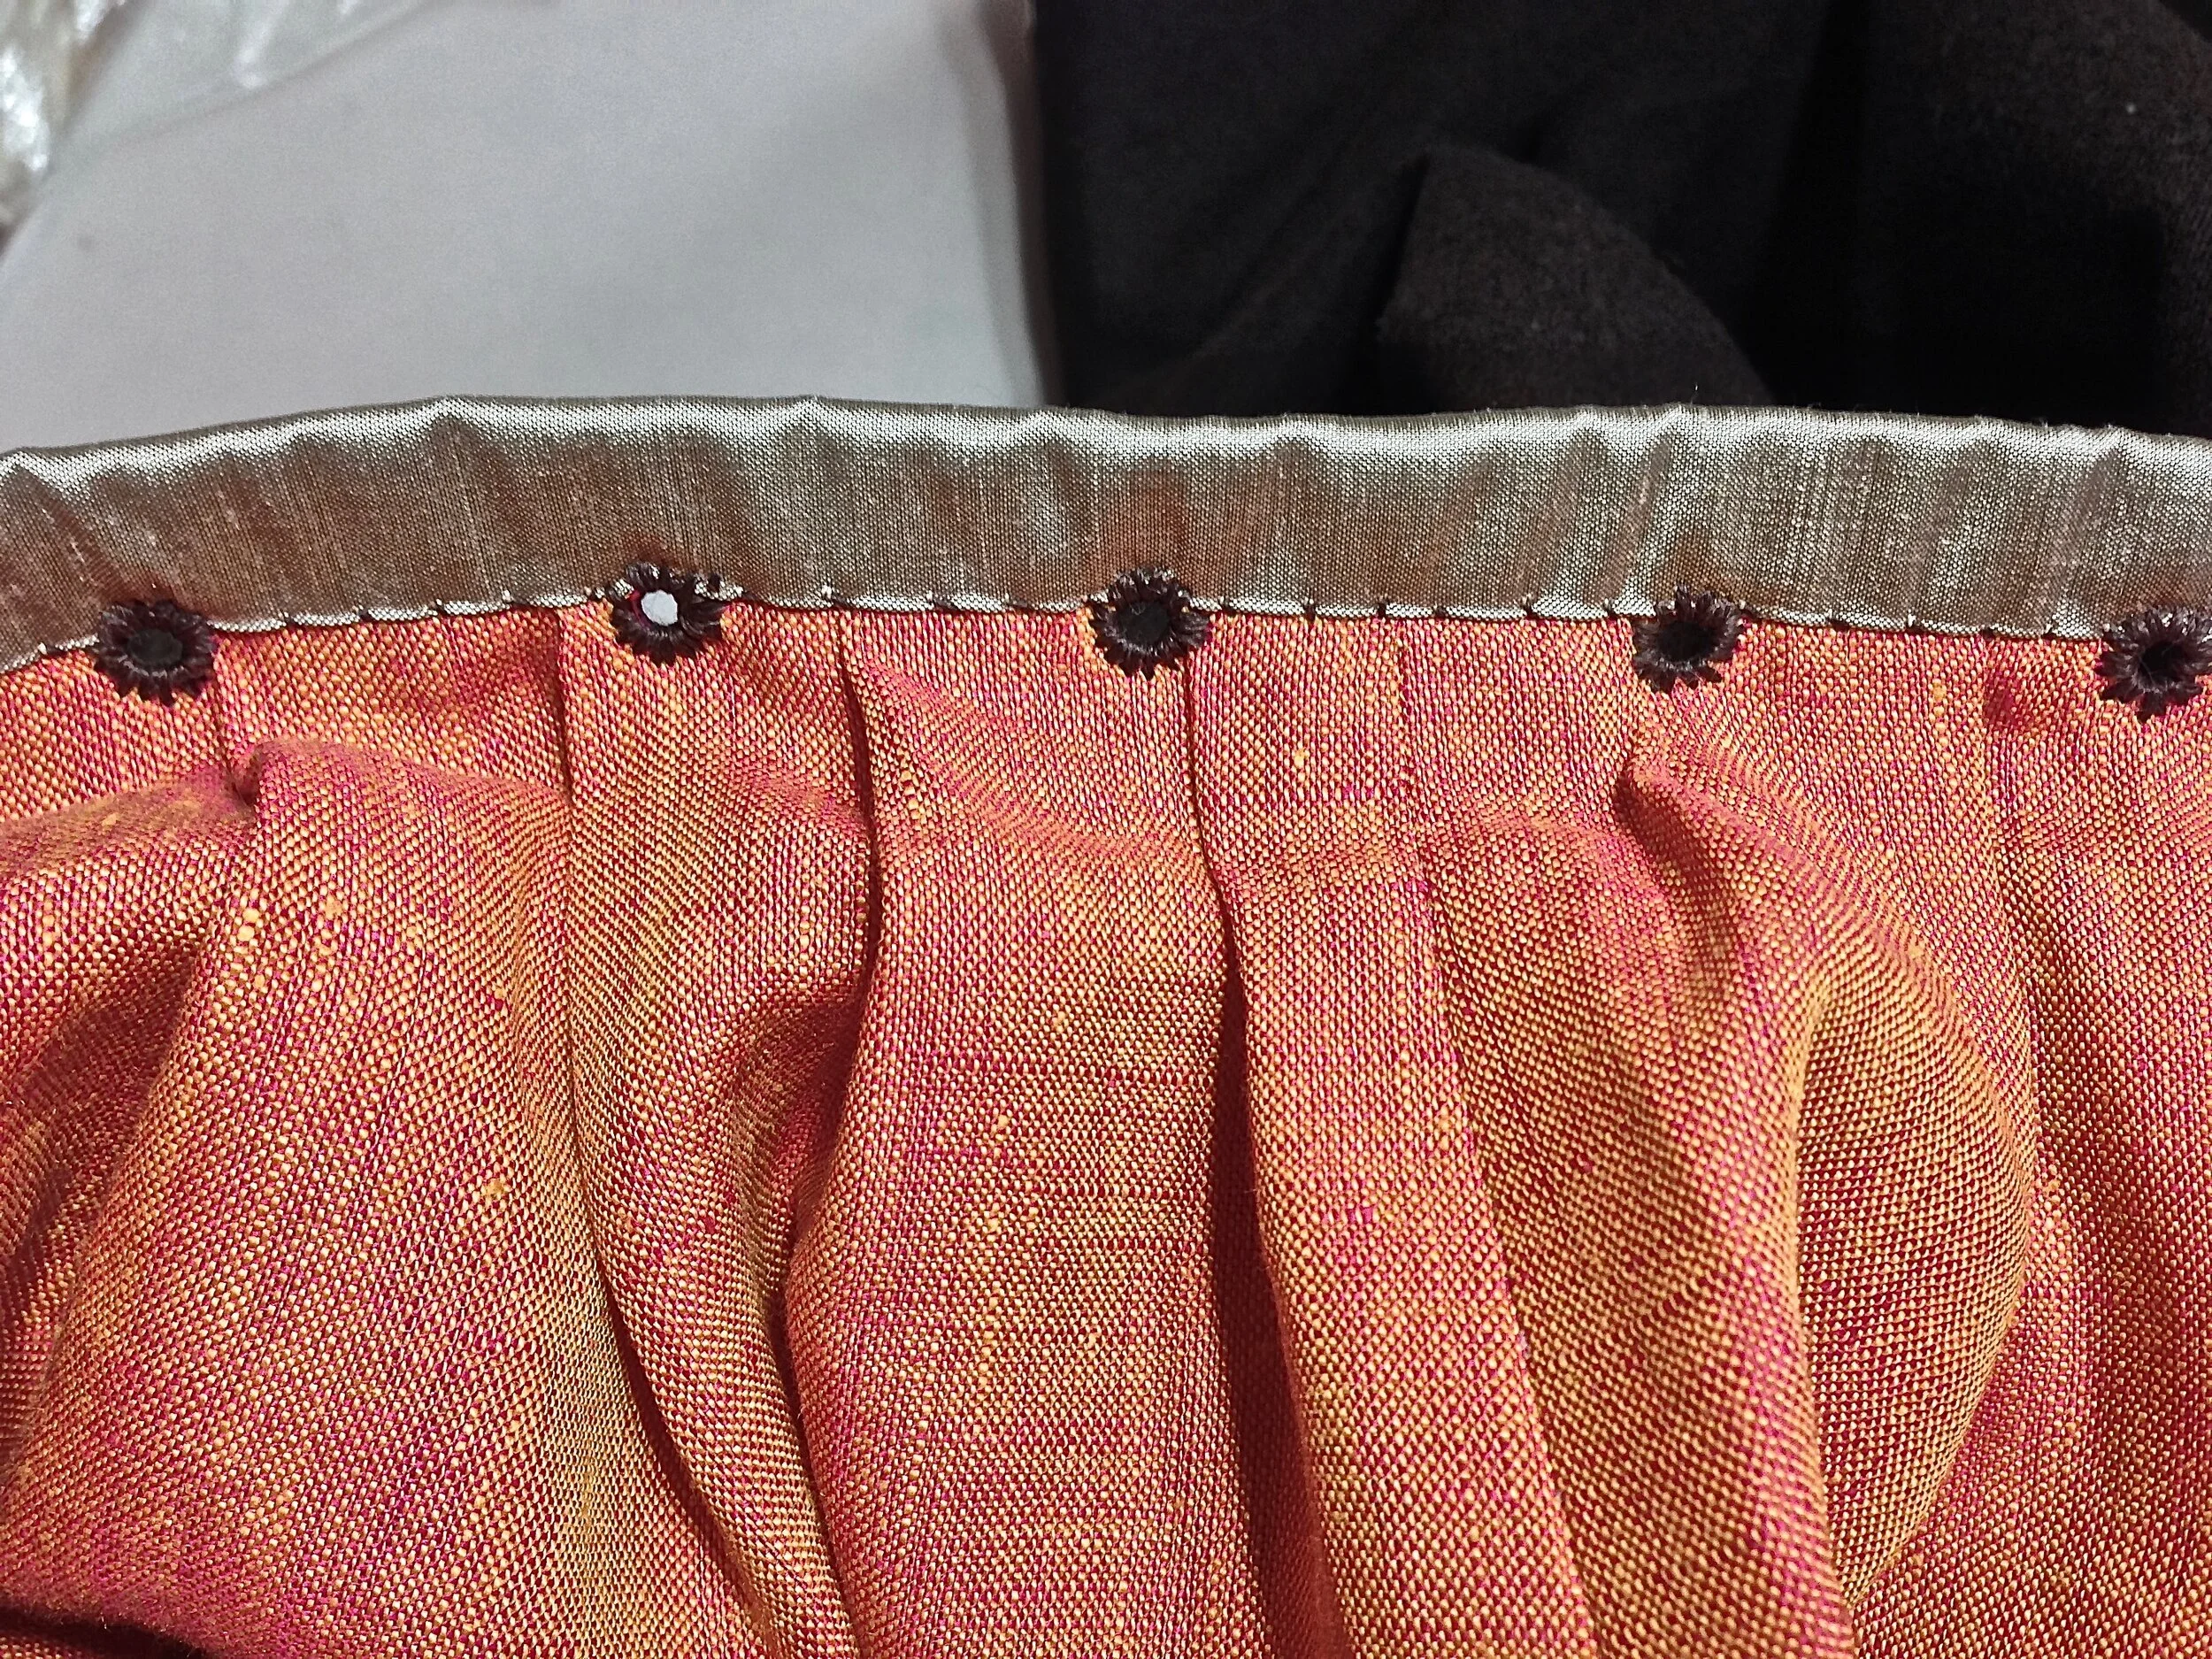
Eyelets can be sewn through all layers, even the pleated lining.